 Written by Theertha, Teen Volunteer
Halifax Public Libraries' Teen Blog is written by and for teens. Discover more posts here., opens a new window
This year, our Creative Doers volunteers created art to be displayed in our Libraries. Their artwork will be featured in the teen area at Central Library until the end of the summer.
The meaning
Recently, I’ve been noticing a lot of female empowerment around the world, at the same time, I'm seeing hate crimes targeting Asian women. With all this in mind, I've noticed that one of the main things that women have, to stop events like this from happening again, is determination.
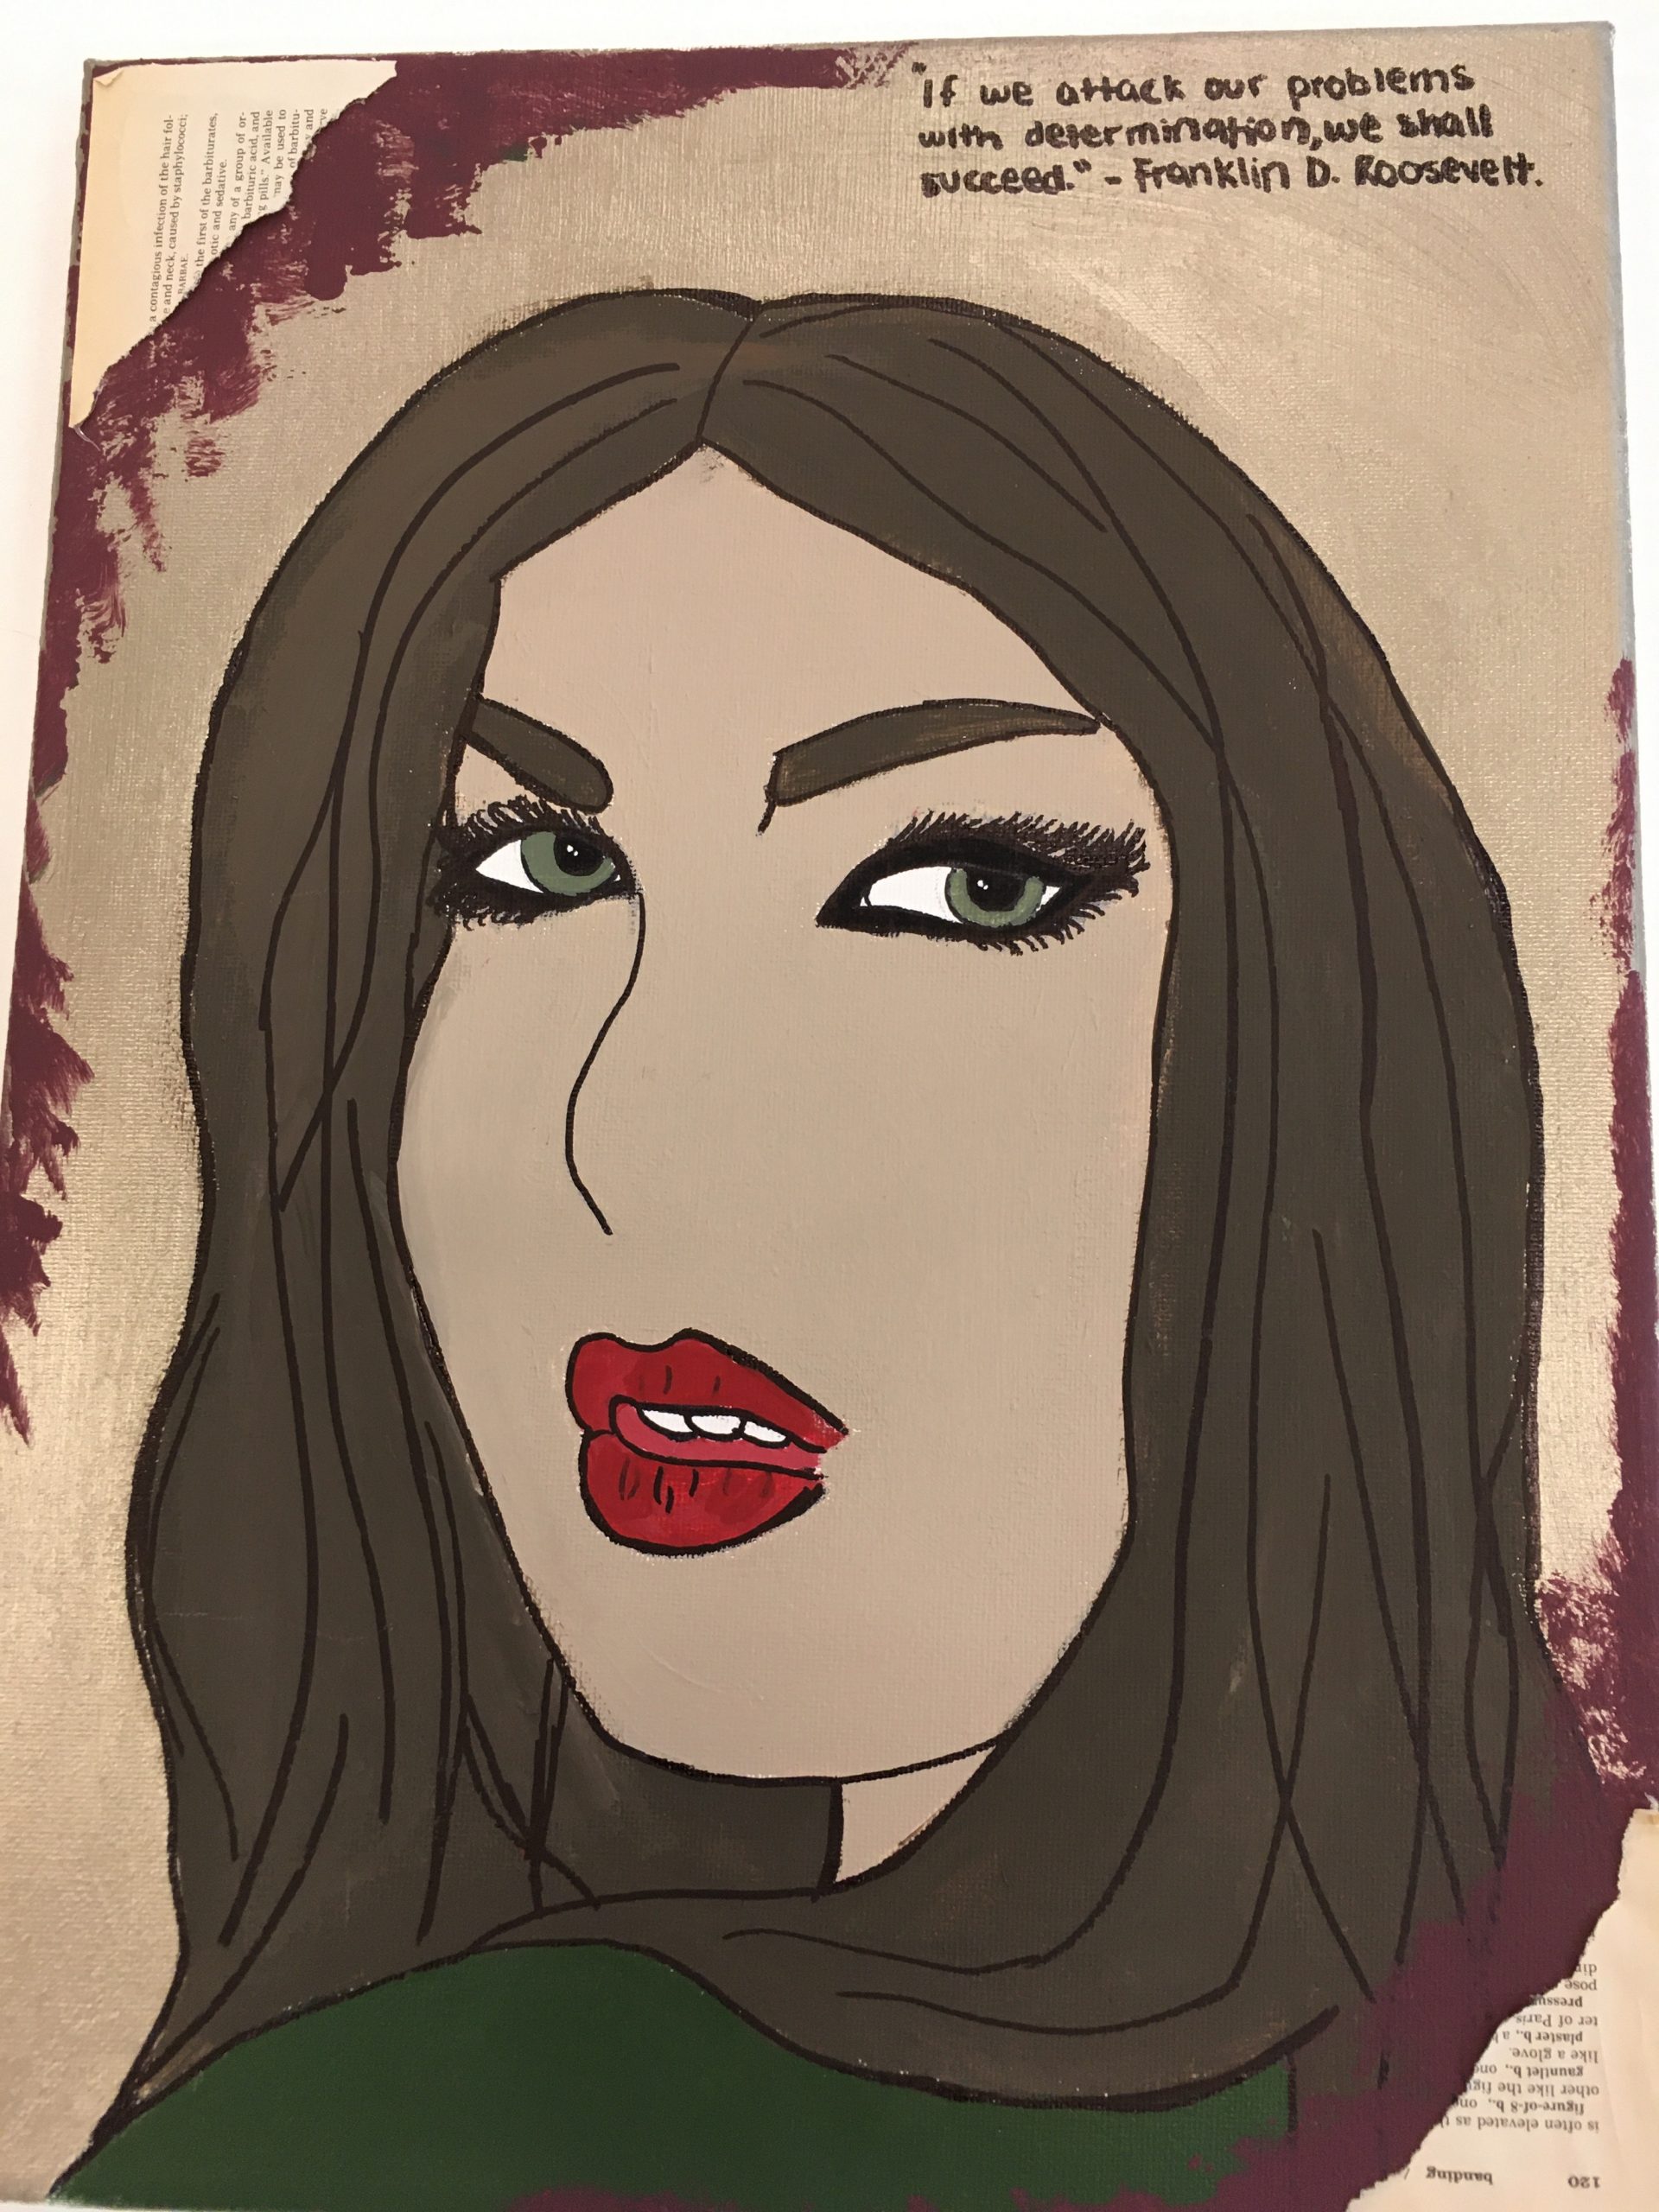
So, I wanted to create an art piece that showcased a determined woman, to show that we have to continue on and always have determination, regardless. Adding Franklin D. Roosevelt's quote, "If we attack our problems with determination, we shall succeed," also helped strengthen what I was going for with my art piece.
What you'll need
- Thick and thin sharpies
- Gold paint
- Various green paints
- Pencils for the outline and sketch
- Medium sized canvas
- White gel pen (Gelly Roll 08)
- Paintbrushes of different sizes and textures
- Old paper/scrap paper
- Hot glue gun
- Hot glue sticks
The process
Step 1
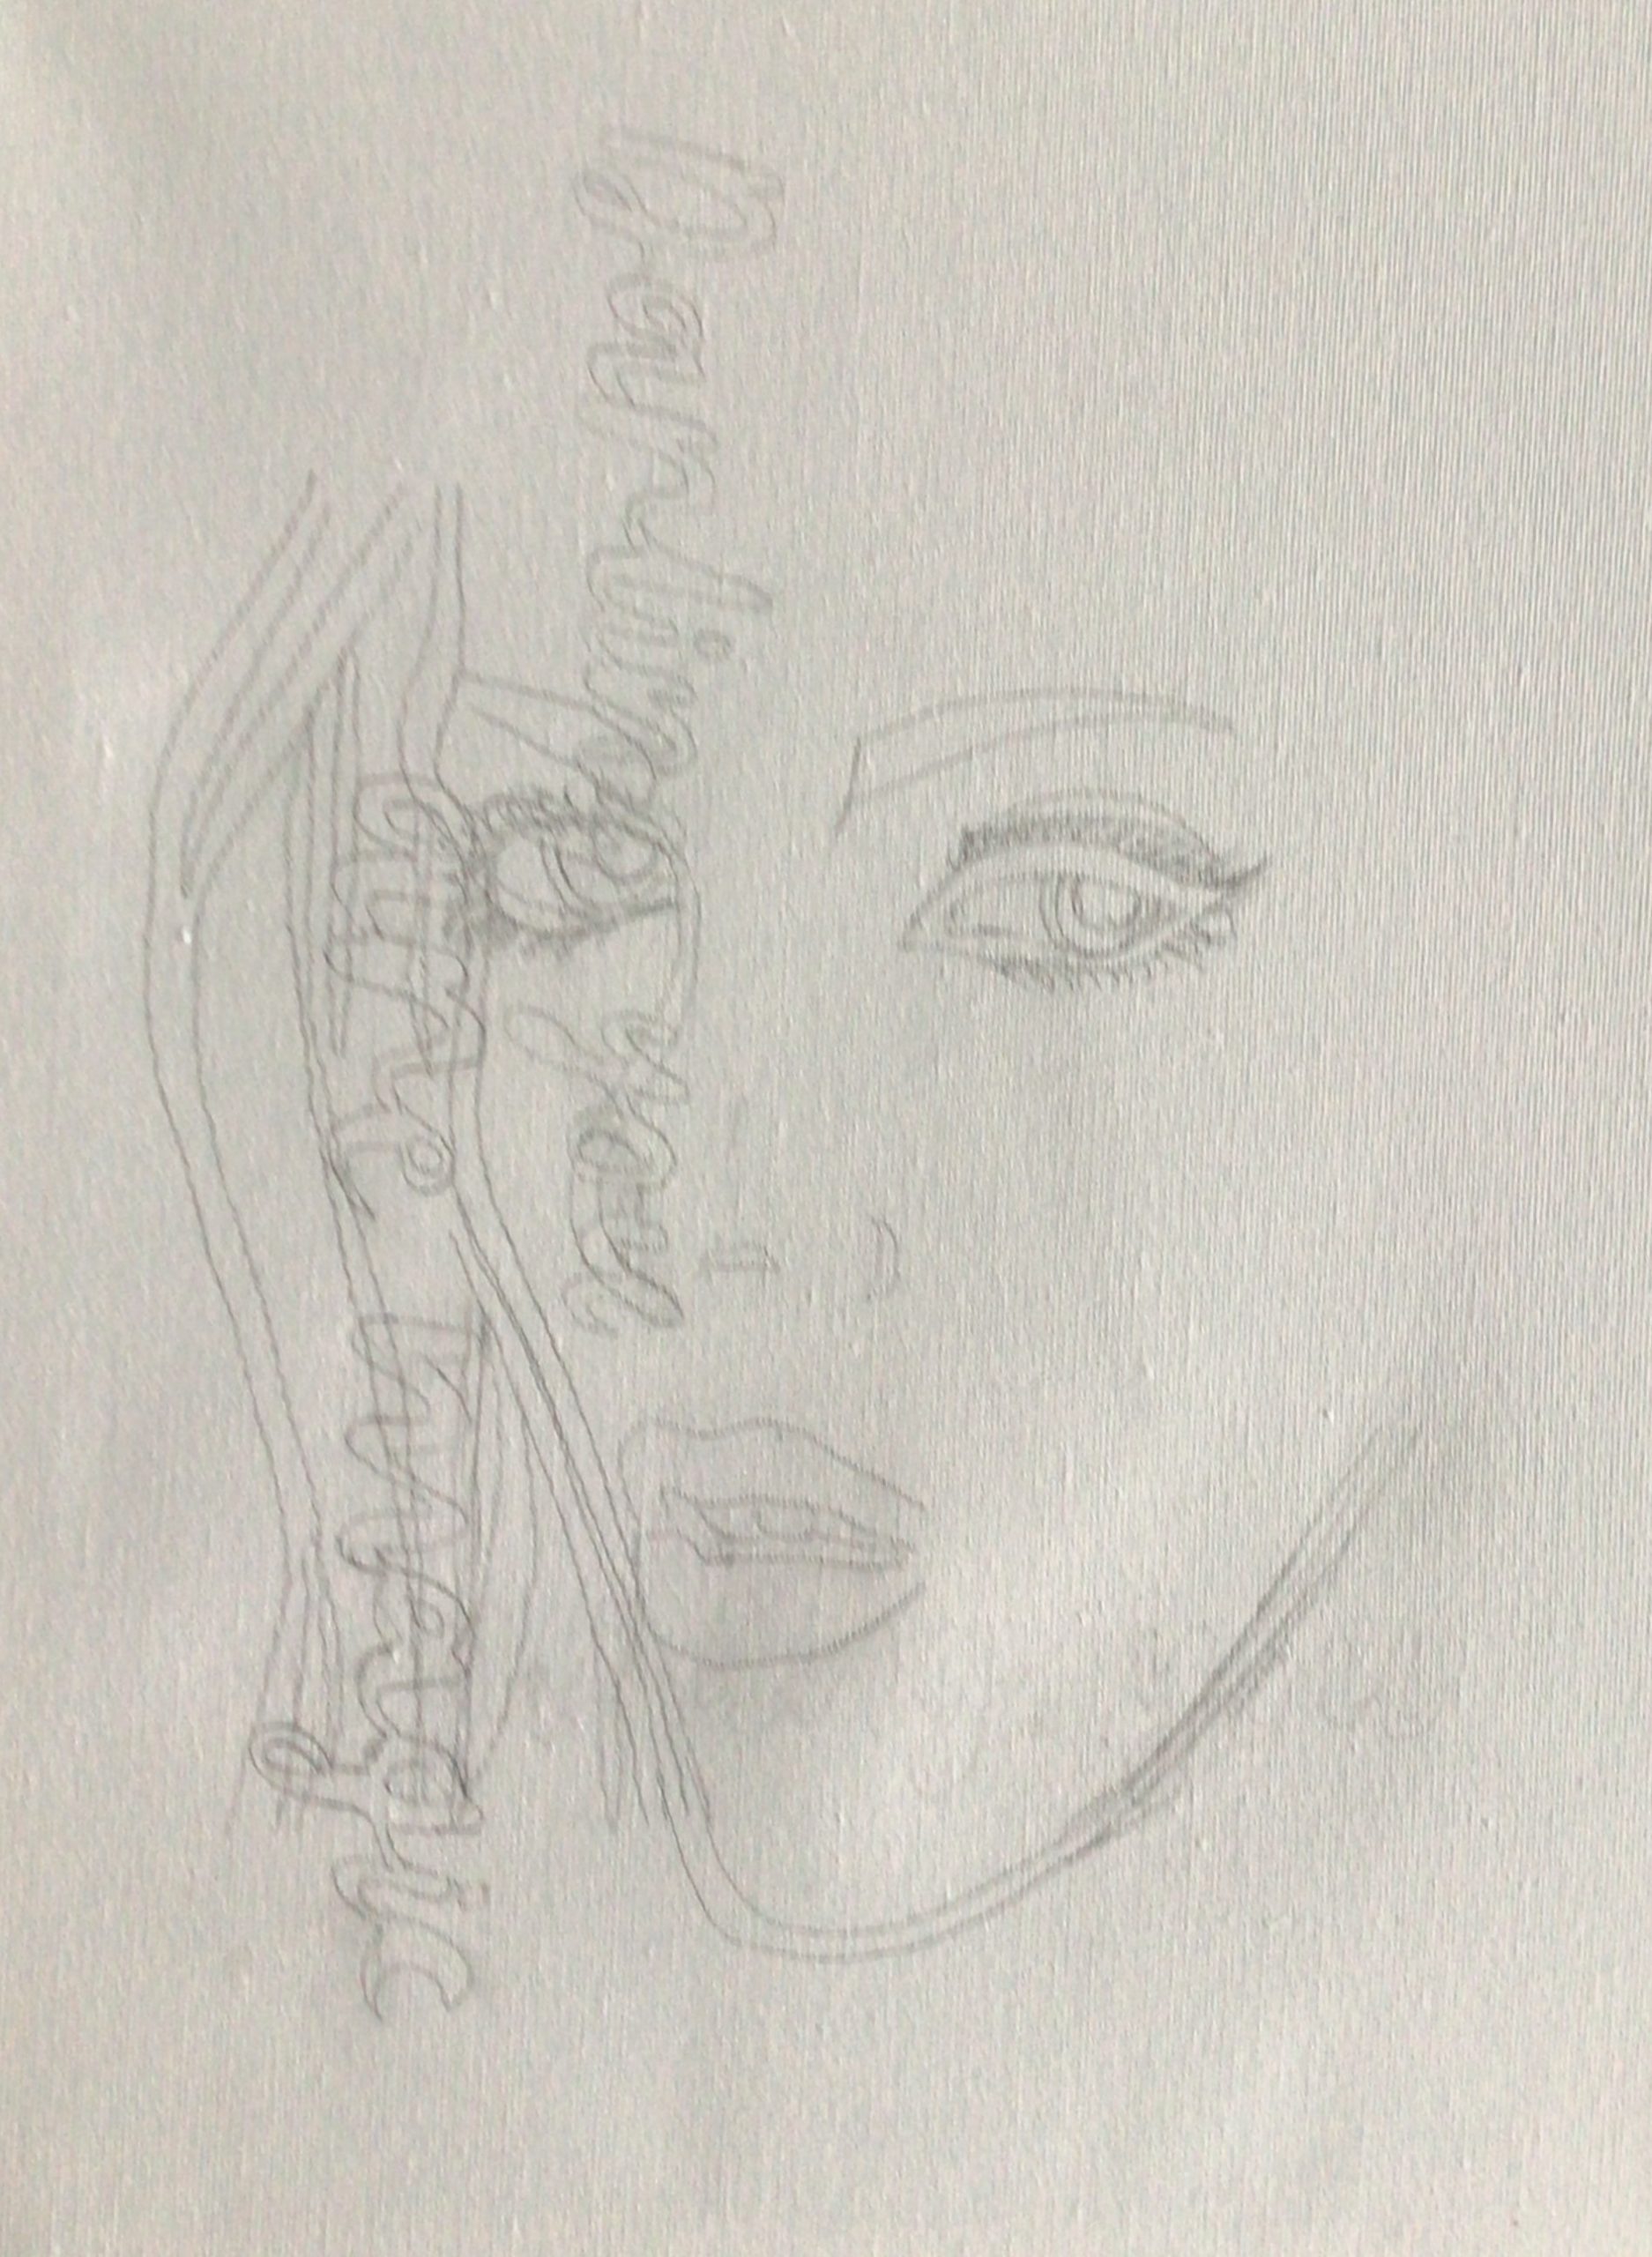
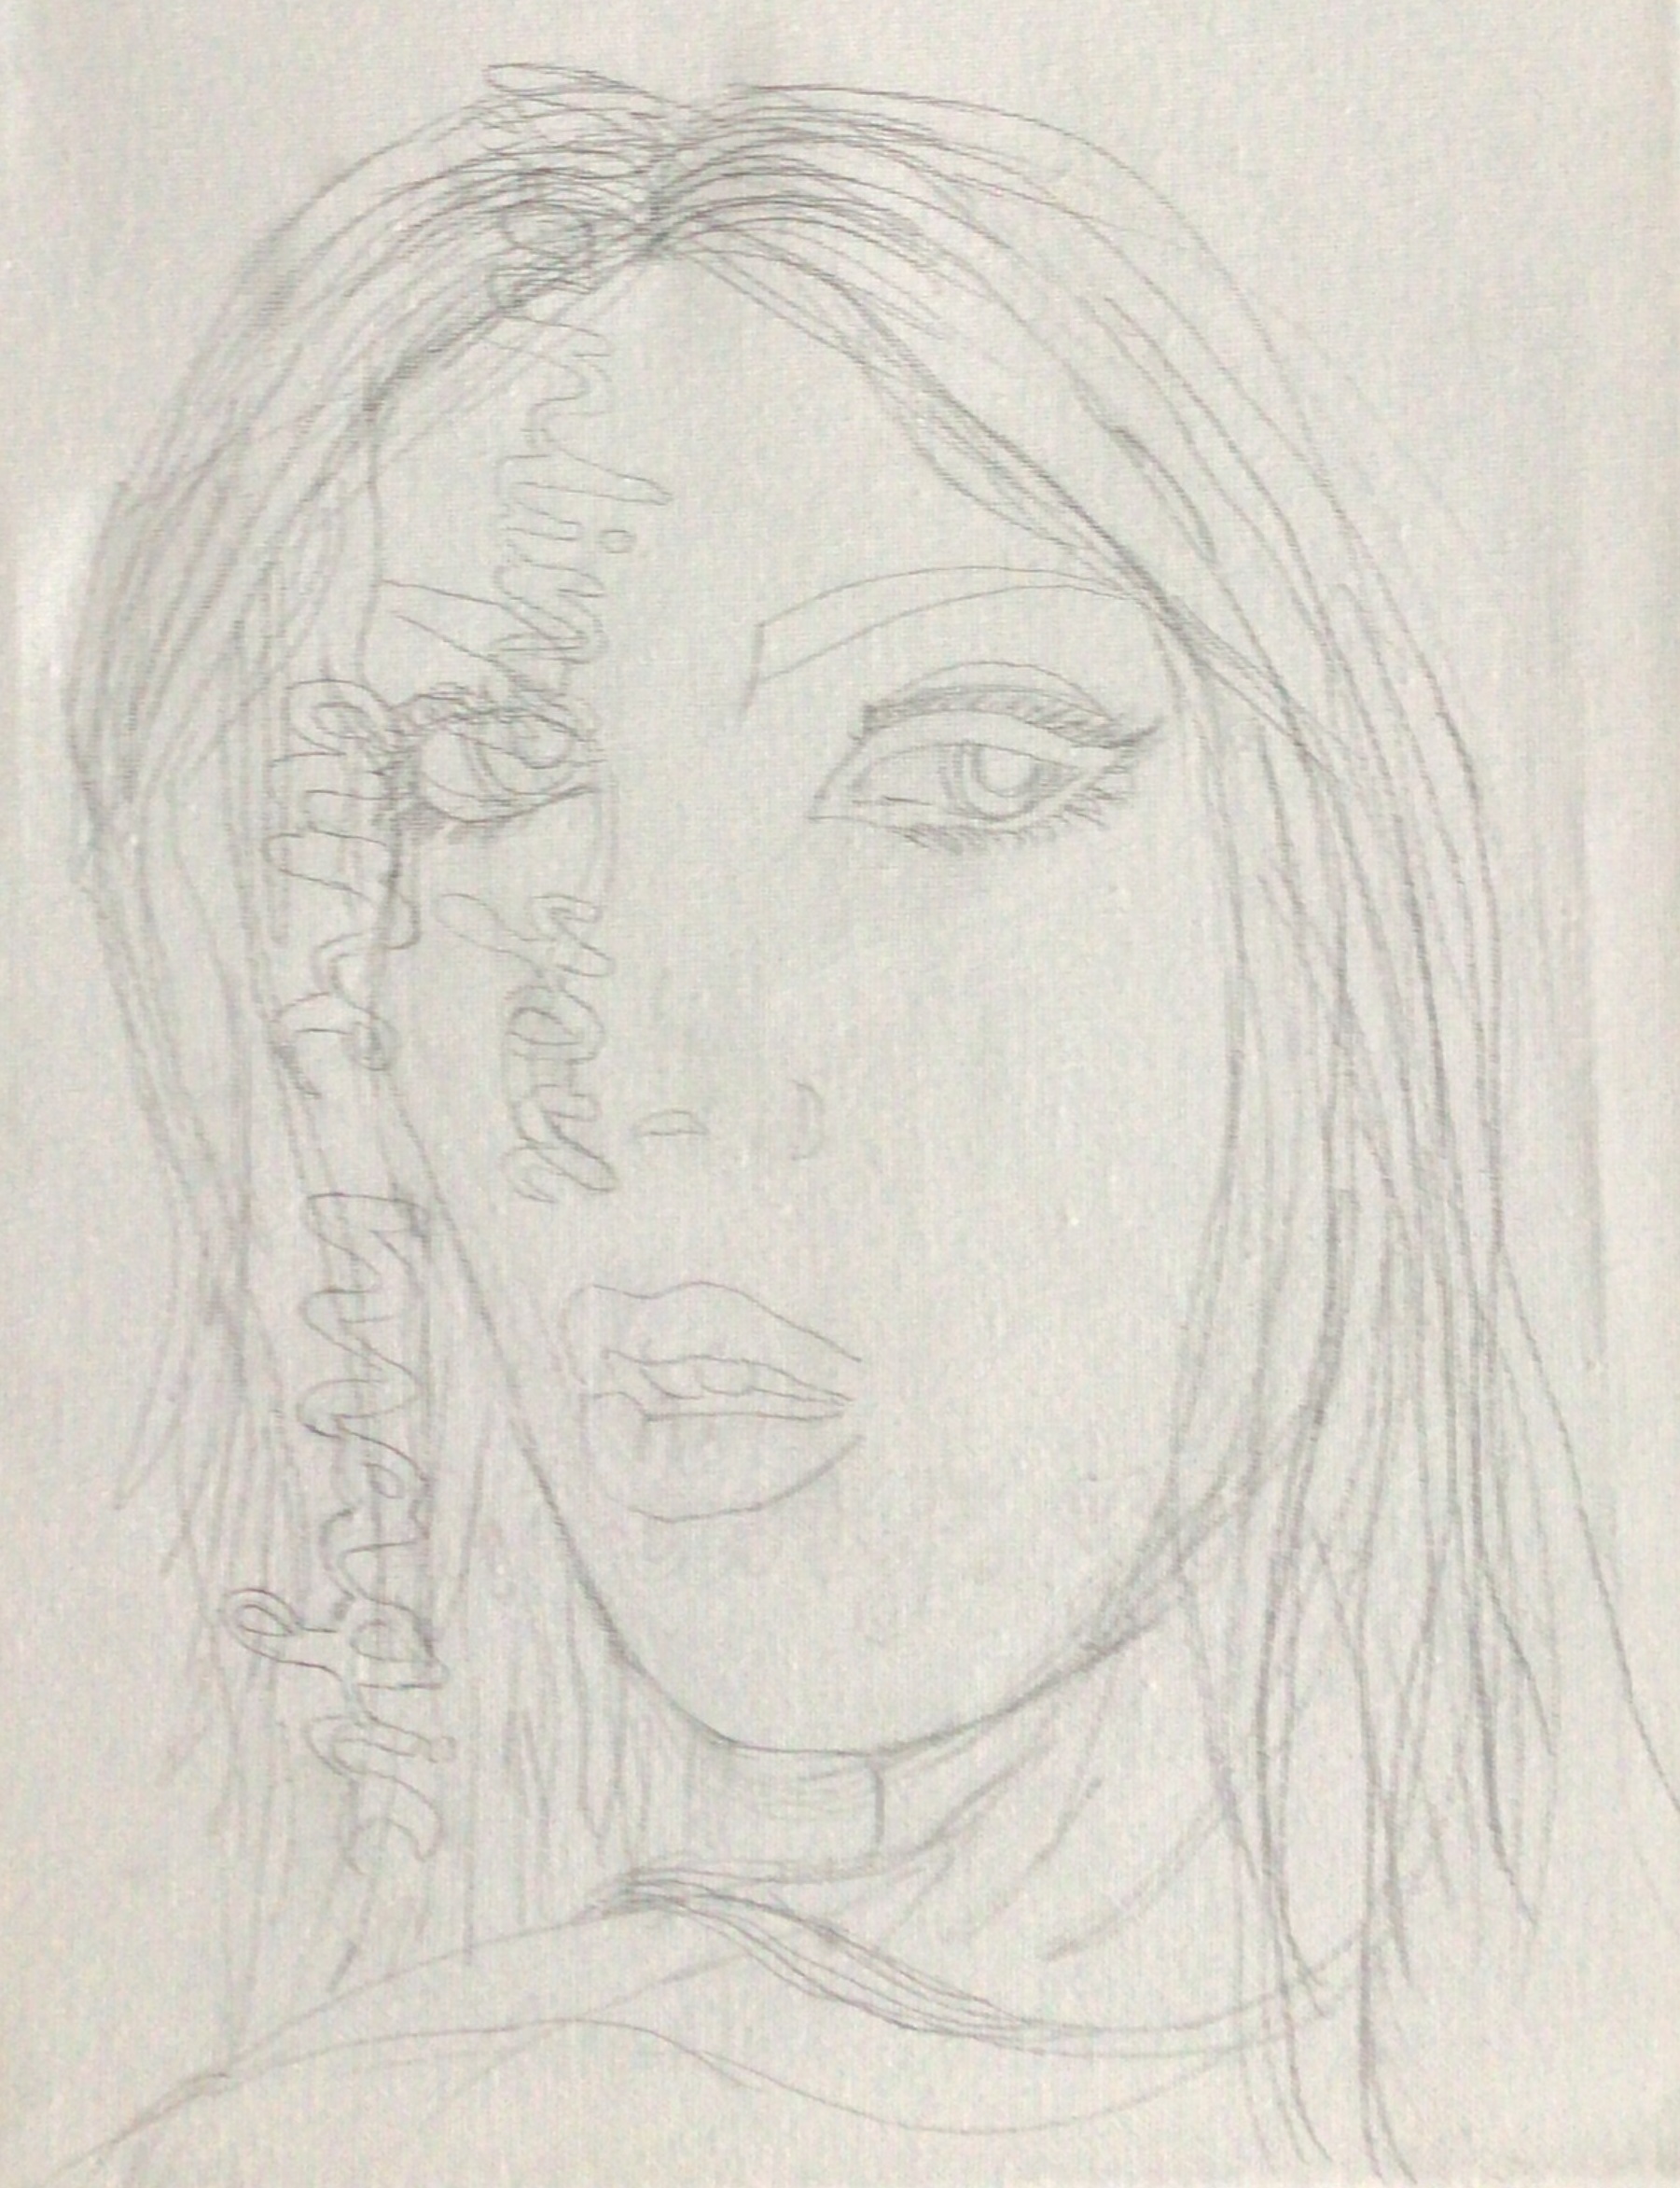
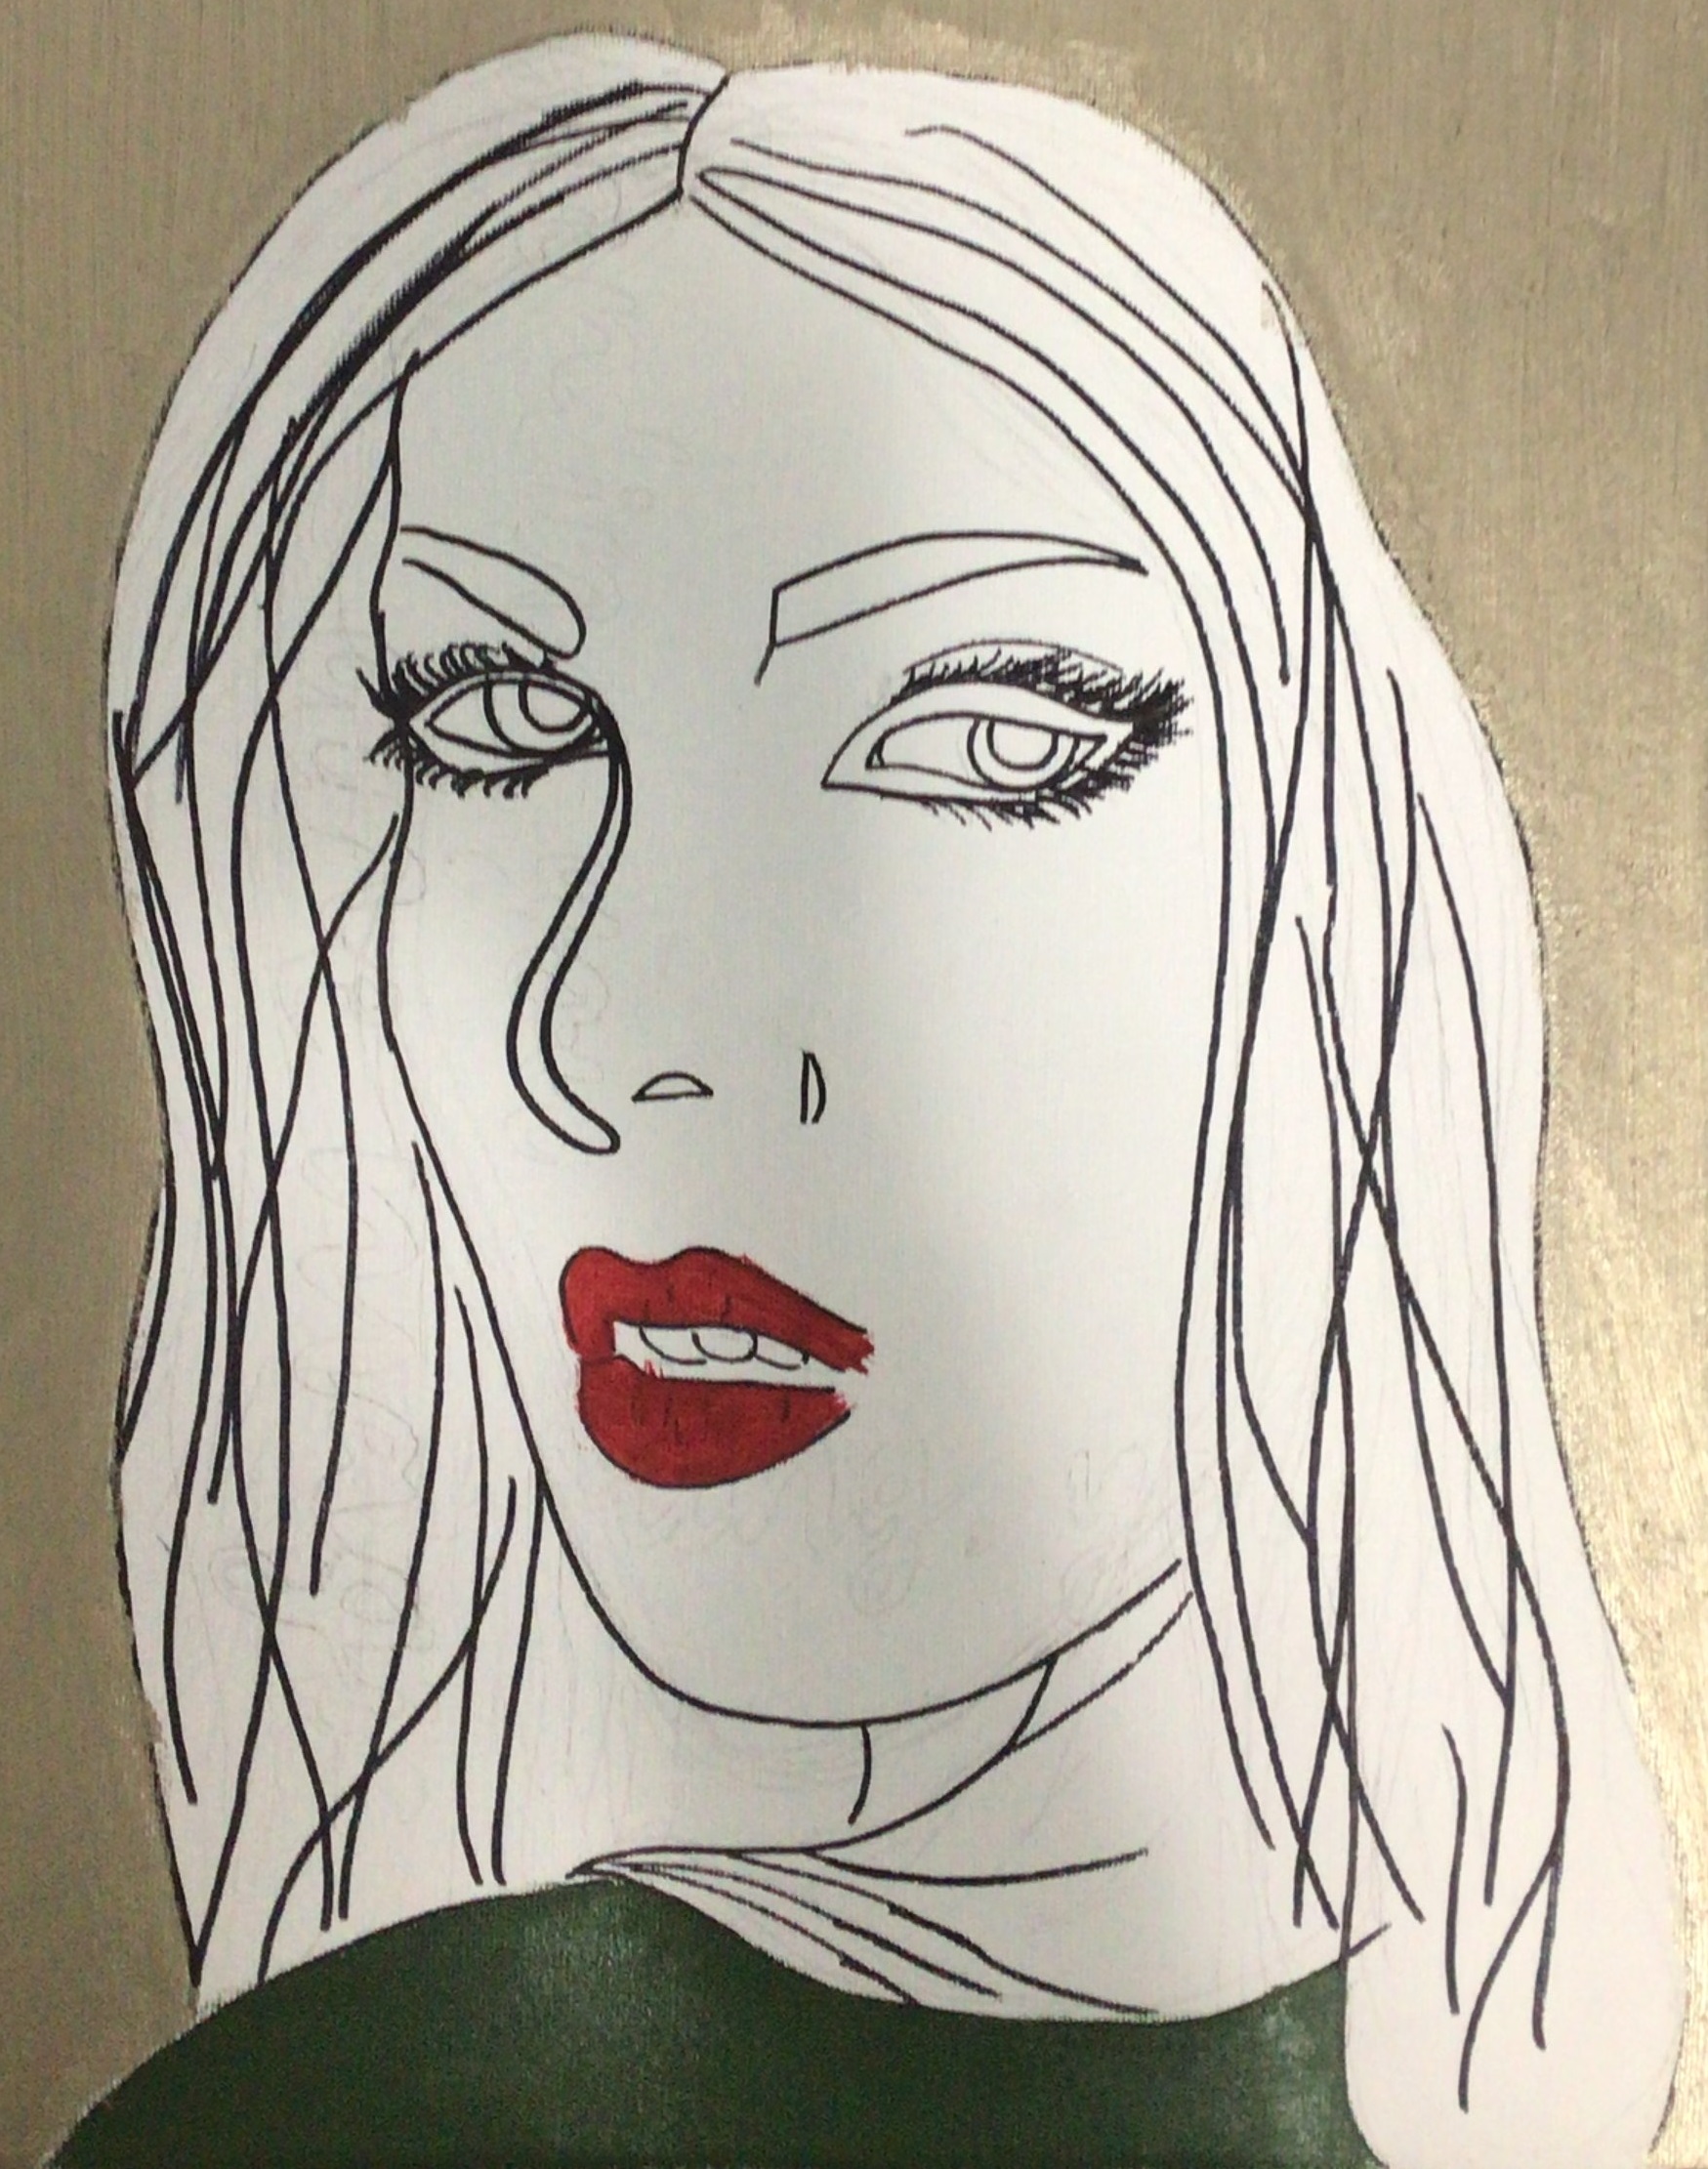
Using the inspiration for my art piece, I created a rough sketch of what I wanted the end product to look like. I first sketched out a quick reference picture on a piece of loose leaf to act as a guide. Then, once I was solid on the outline, I did a light sketch on canvas to guide me later on in the process.
Here are a couple of photos showing what I first started with:
At first, it does not look the prettiest, but it did help me in creating the art piece.
Step 2
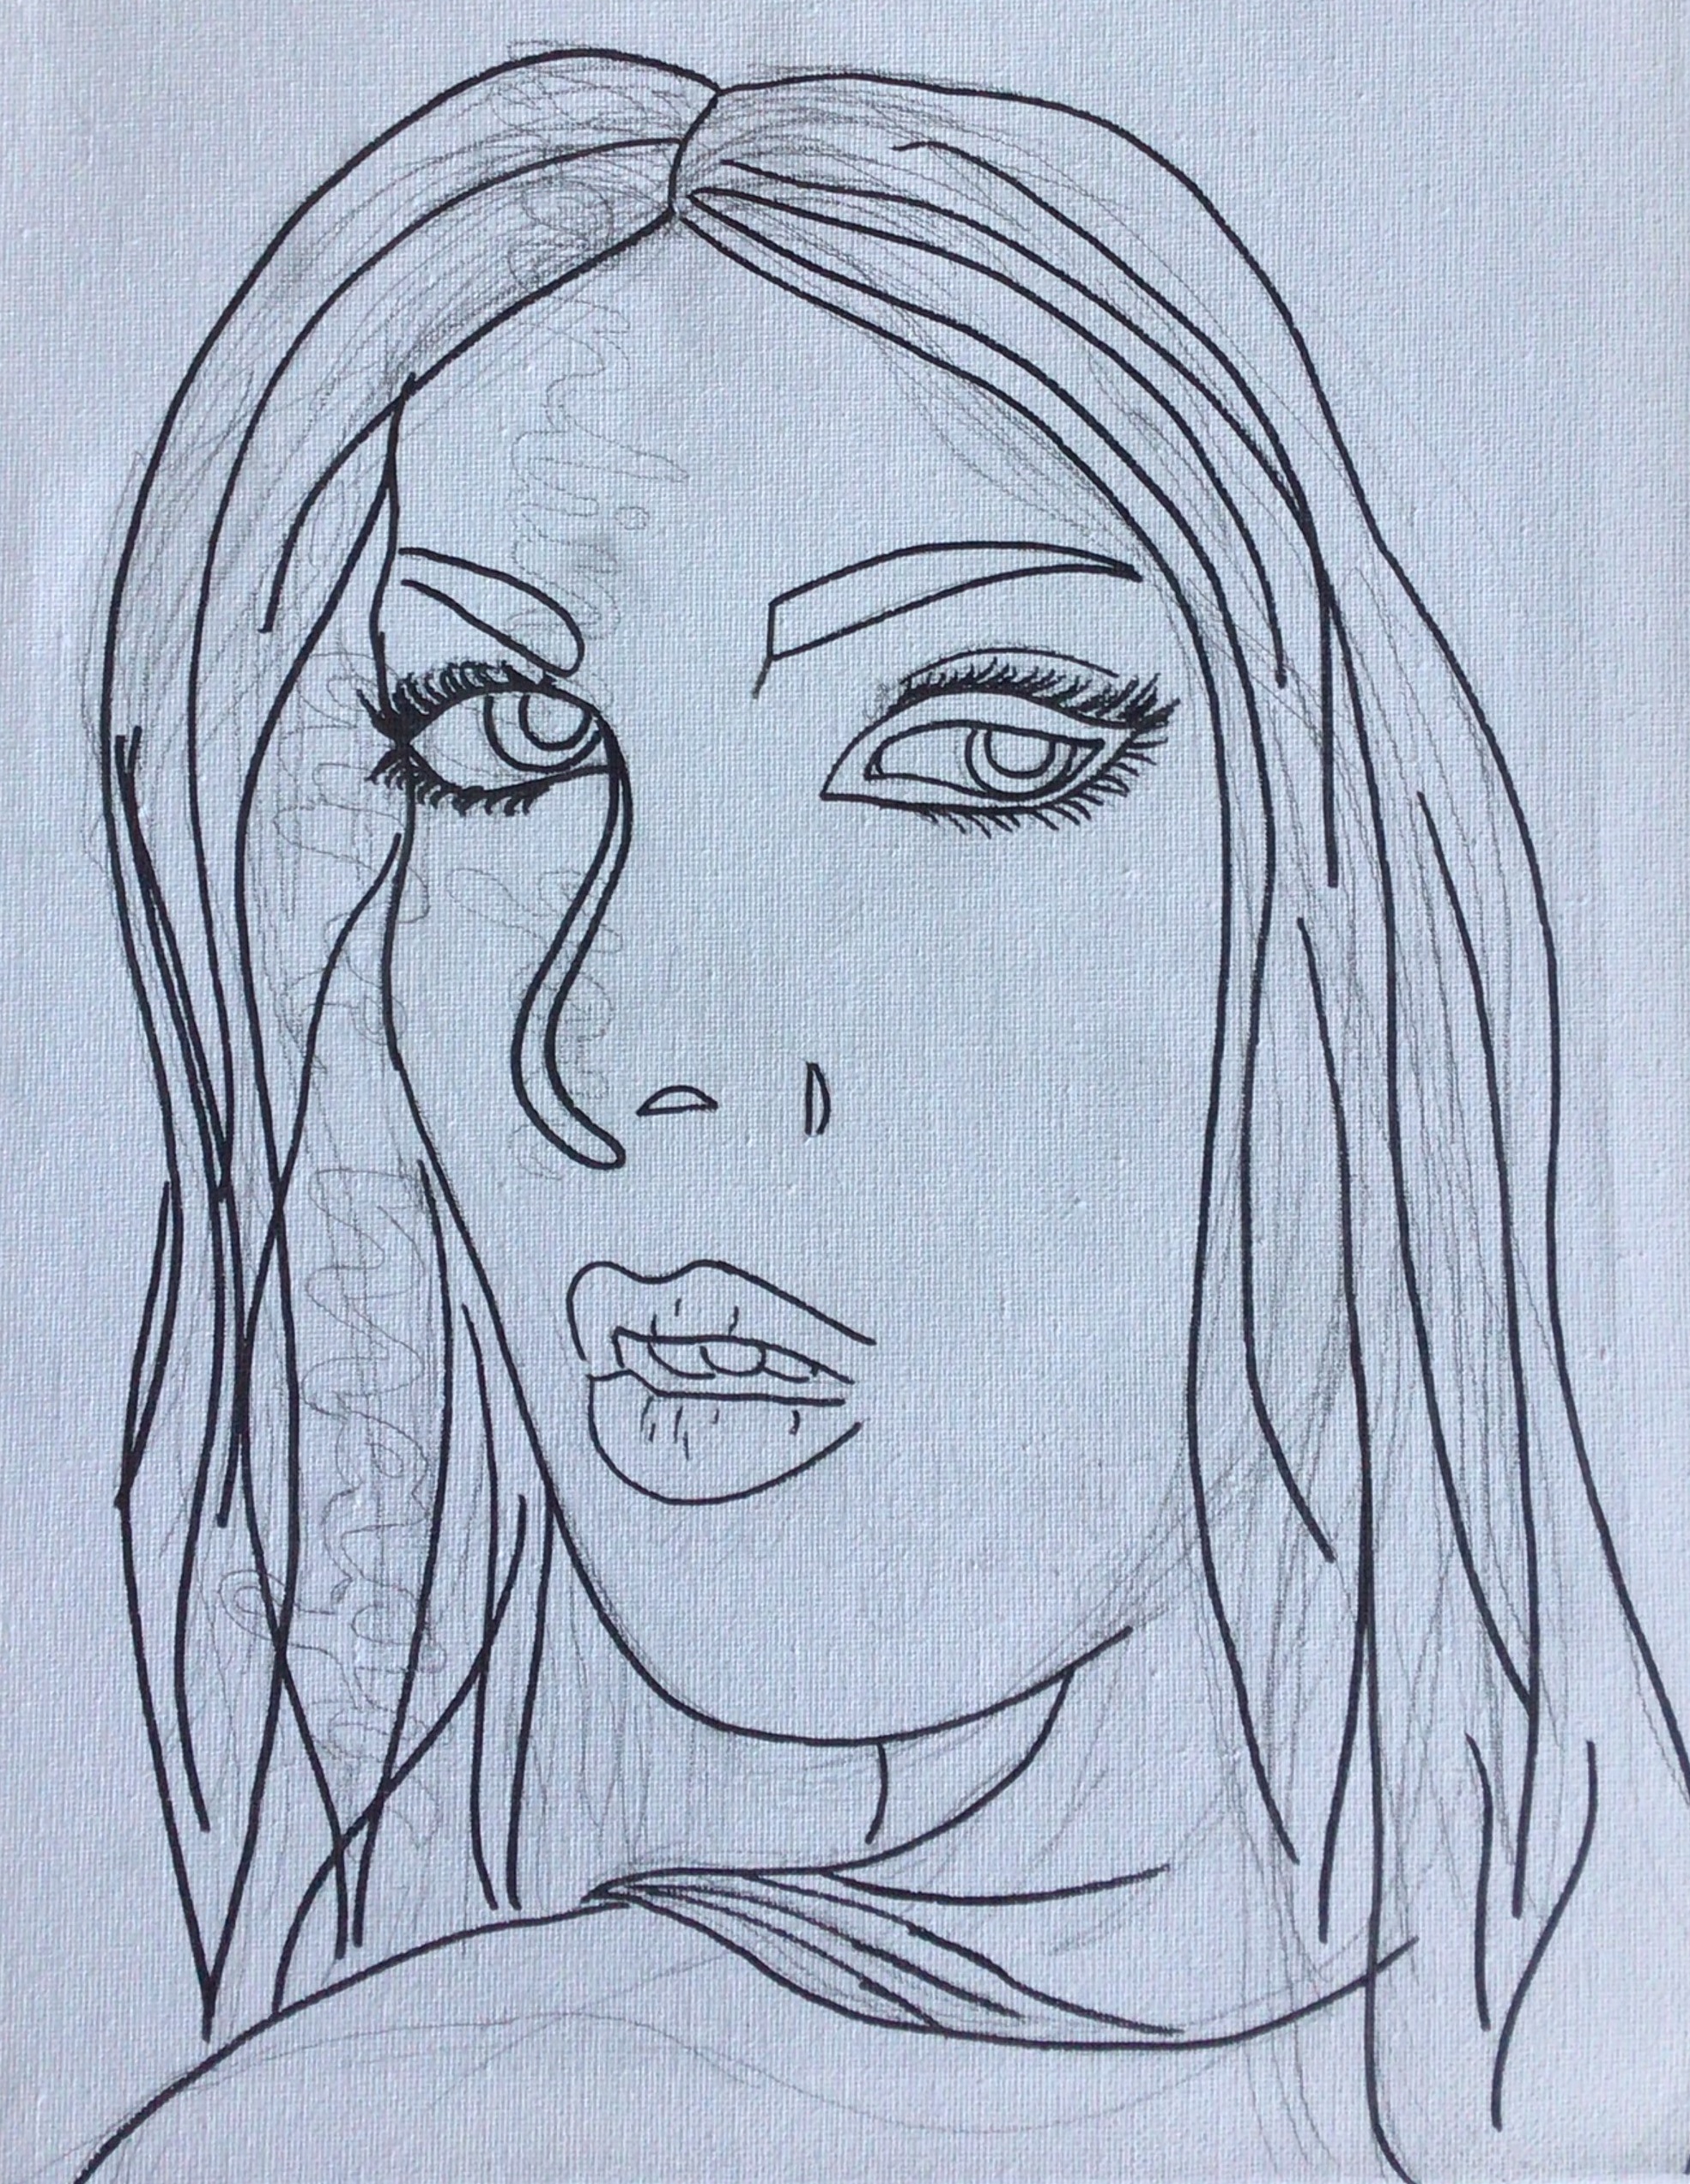
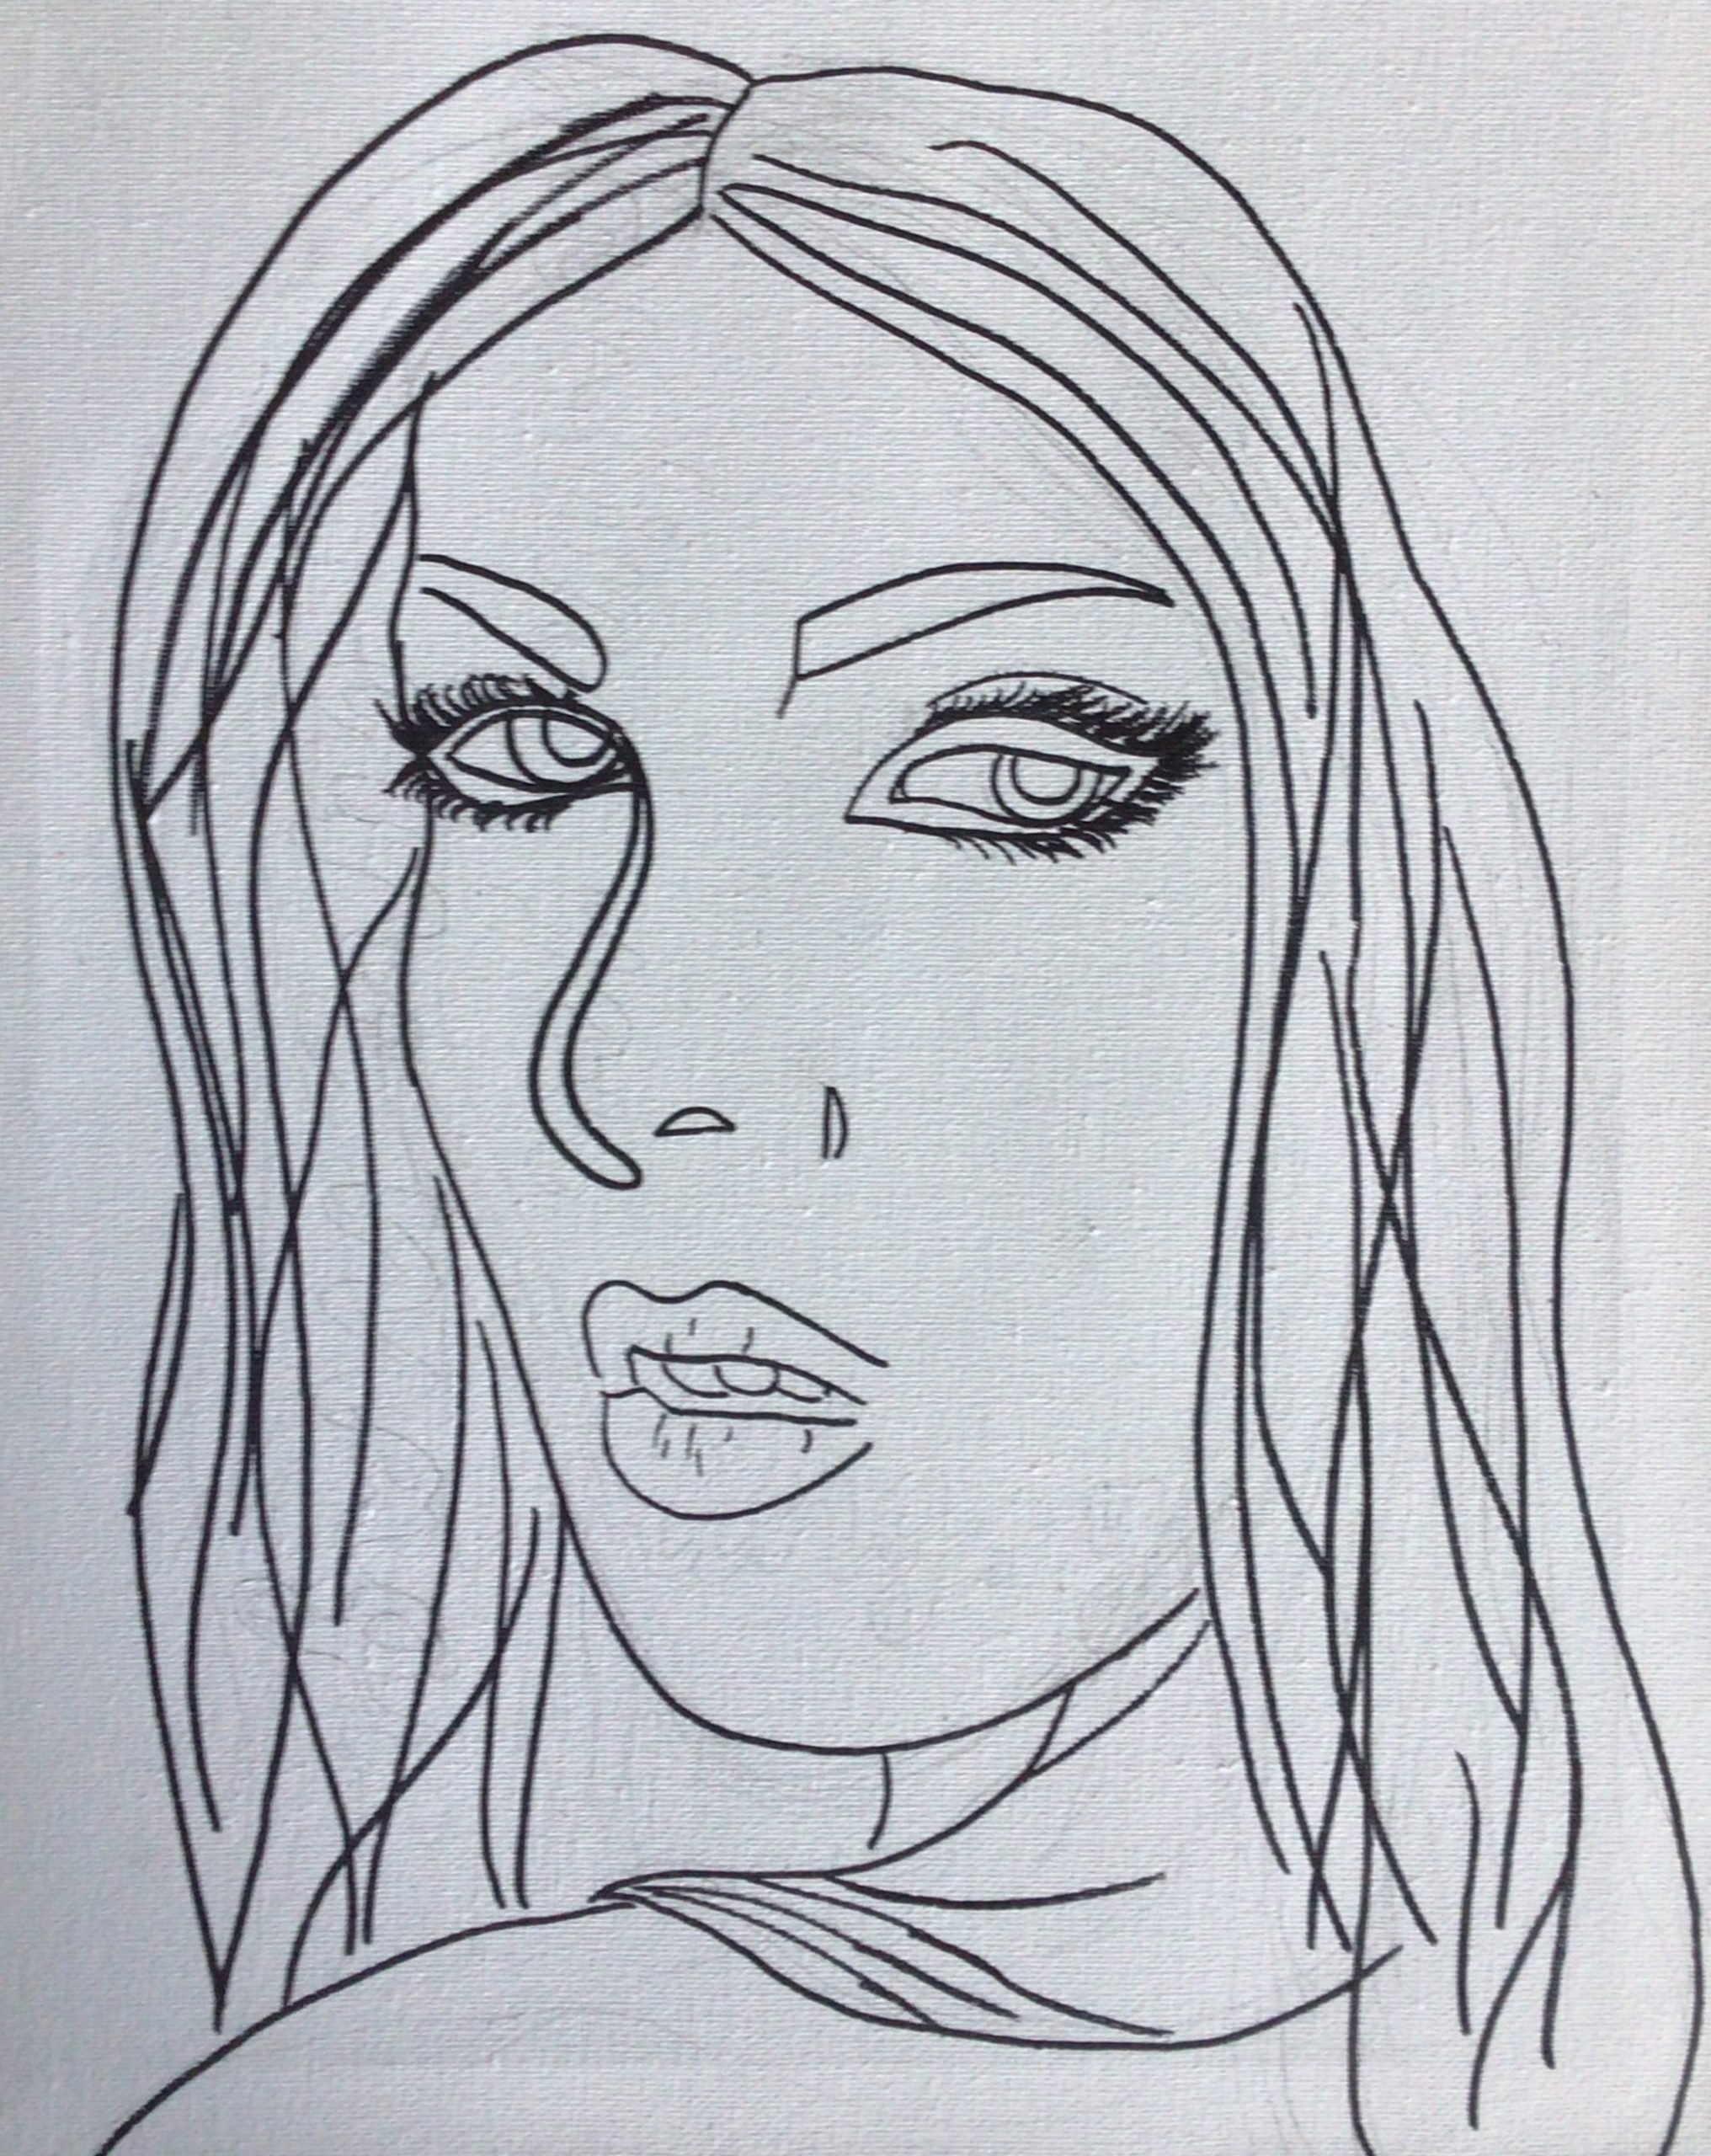
After removing unnecessary lines and cleaning up my sketch, I outlined my picture with thick and thin black sharpies to make it easier for me to see the lines while painting.
As you can probably see, I sketched a faint quote onto the canvas, in hopes of conveying what I wanted to express. But after outlining the portrait in black, I quickly realized that writing on the picture would be messy and it would look extremely disorganized if I layered it that way.
Step 3
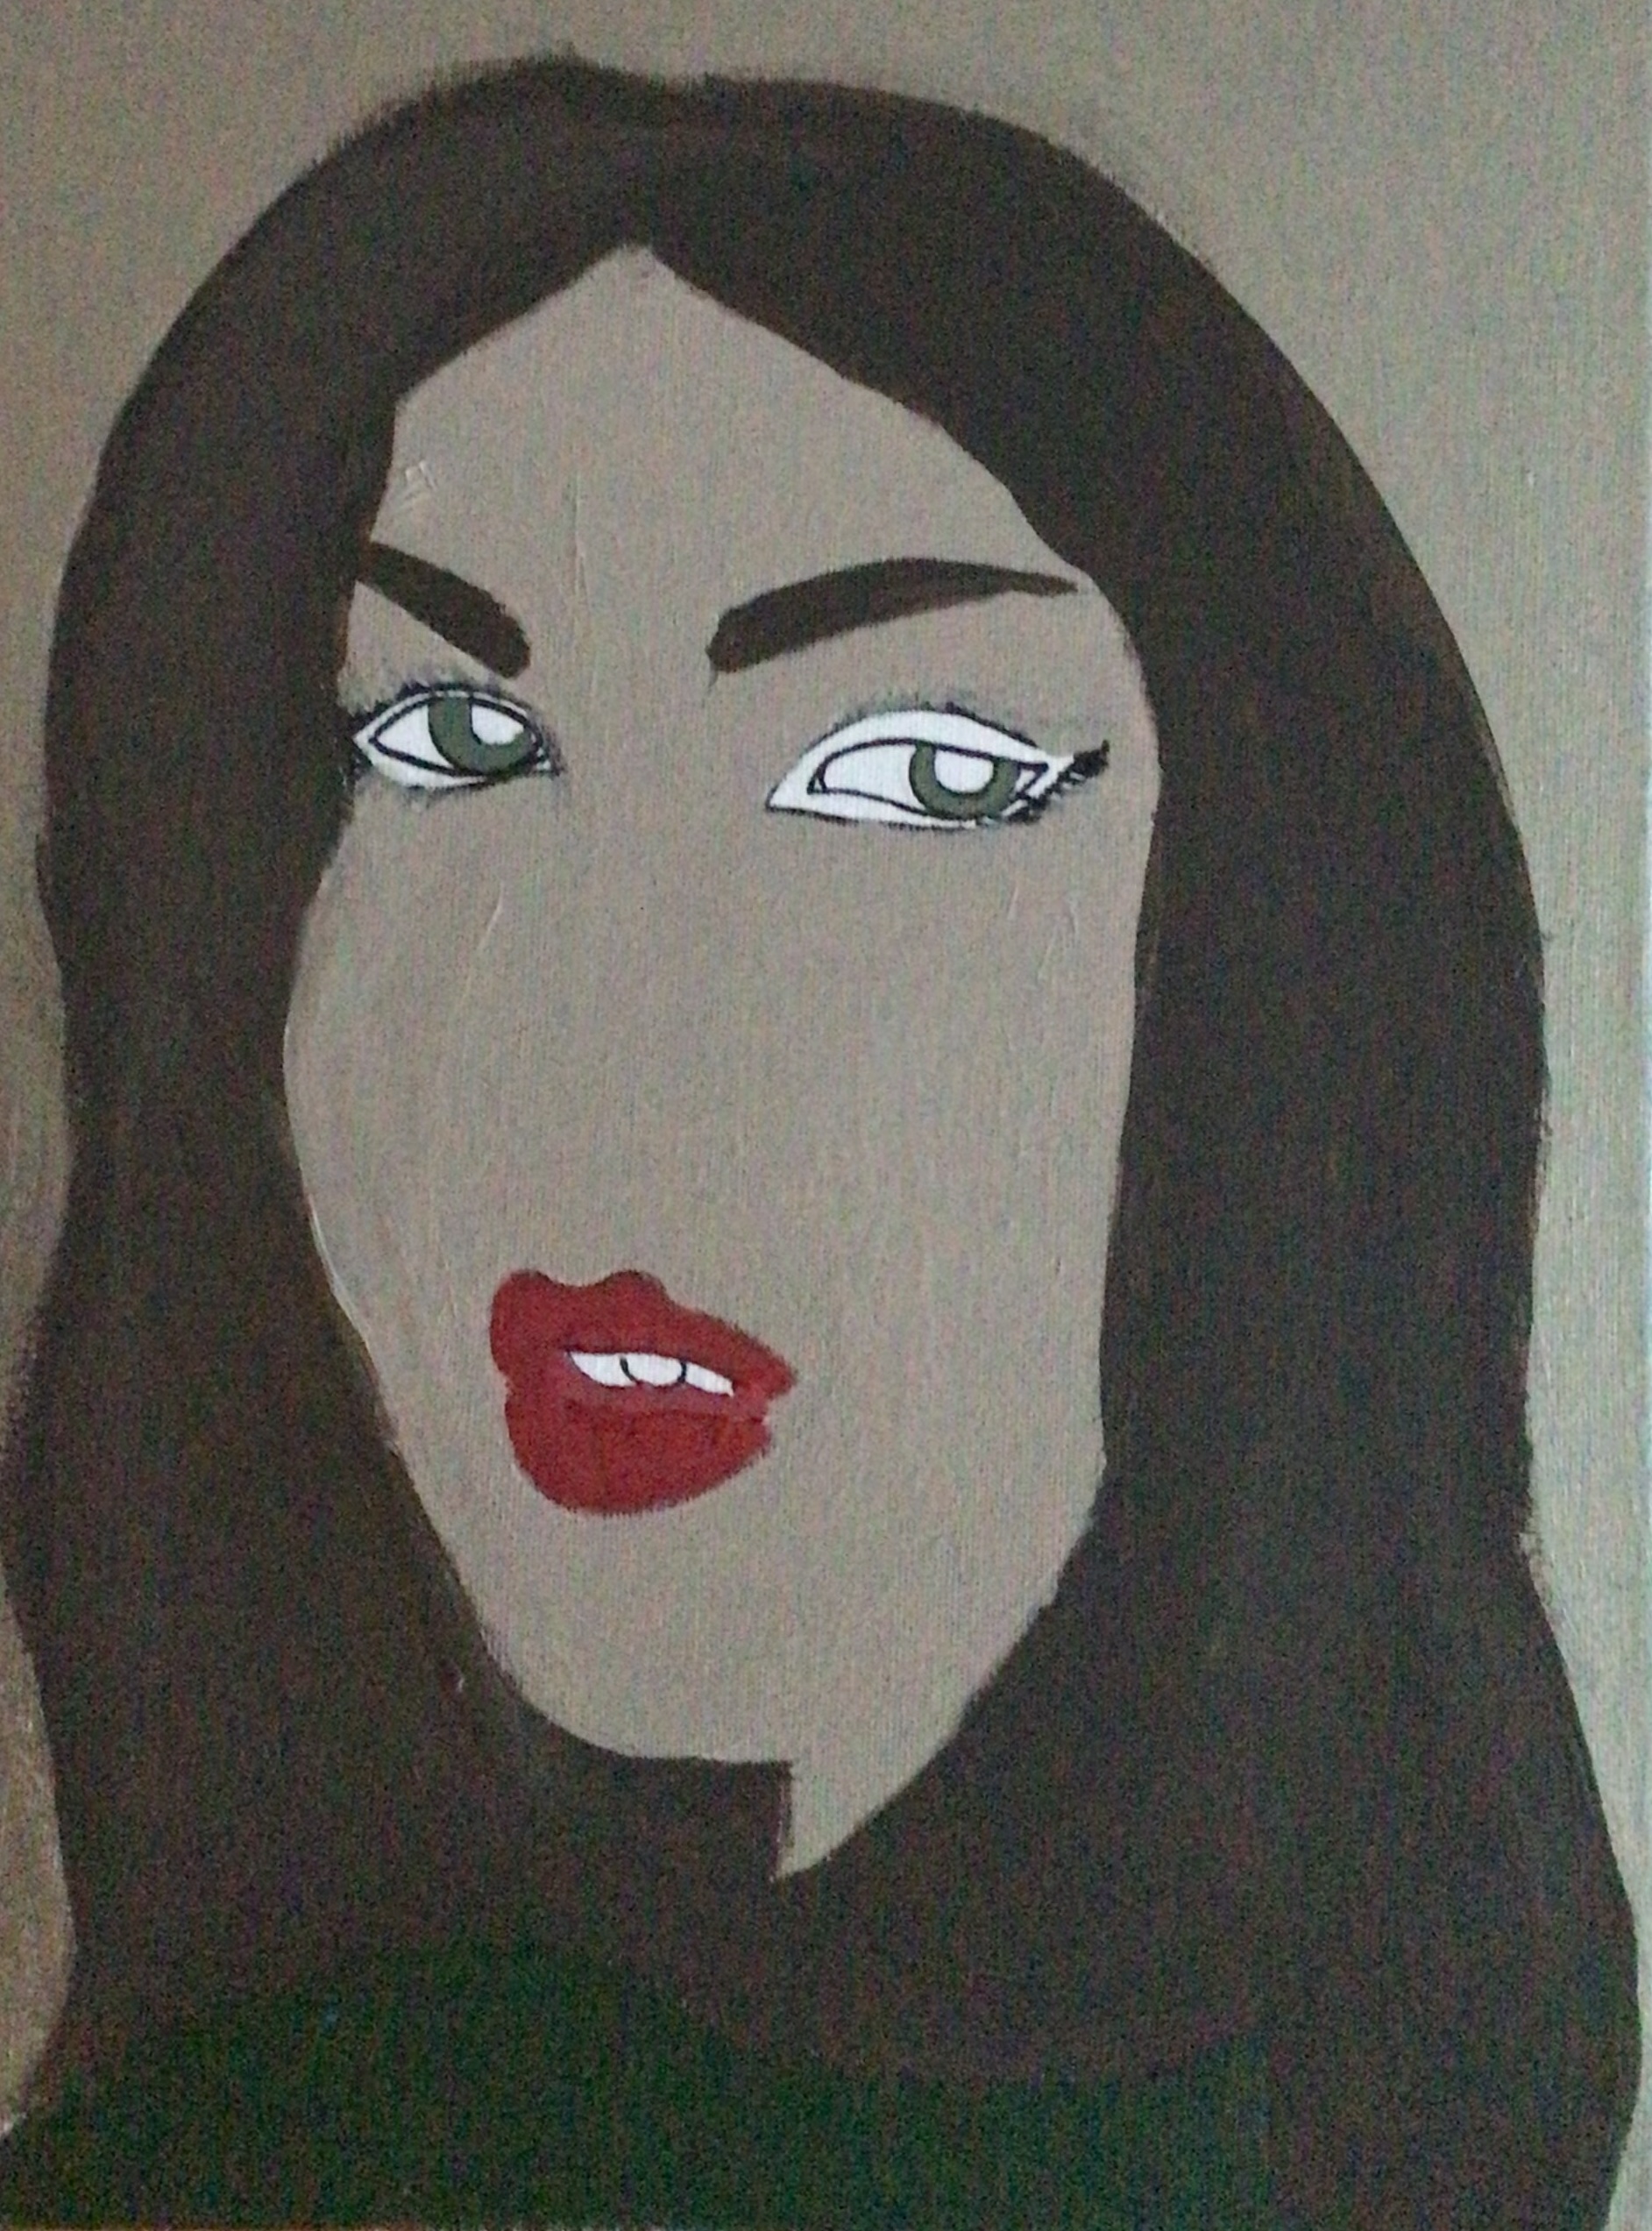
Now for the fun part: painting!
I actually really enjoyed this part because of the different colours that I got to use. I don’t usually use dark and neutral colours while painting, as it is out of my comfort zone. But in the end, I really enjoyed painting with these colours.
The paints that I used were from the Amsterdam Acrylic standard series, and DecoArt paints.
Step 4
After painting a thick coat, I re-added the outline the shape and traced the lines back on, to see what I was roughly looking at. After waiting a bit longer, I noticed some spots that needed a second coat and some touch-ups. So, I continued to do this until there was little, to no, white spots.
Step 5
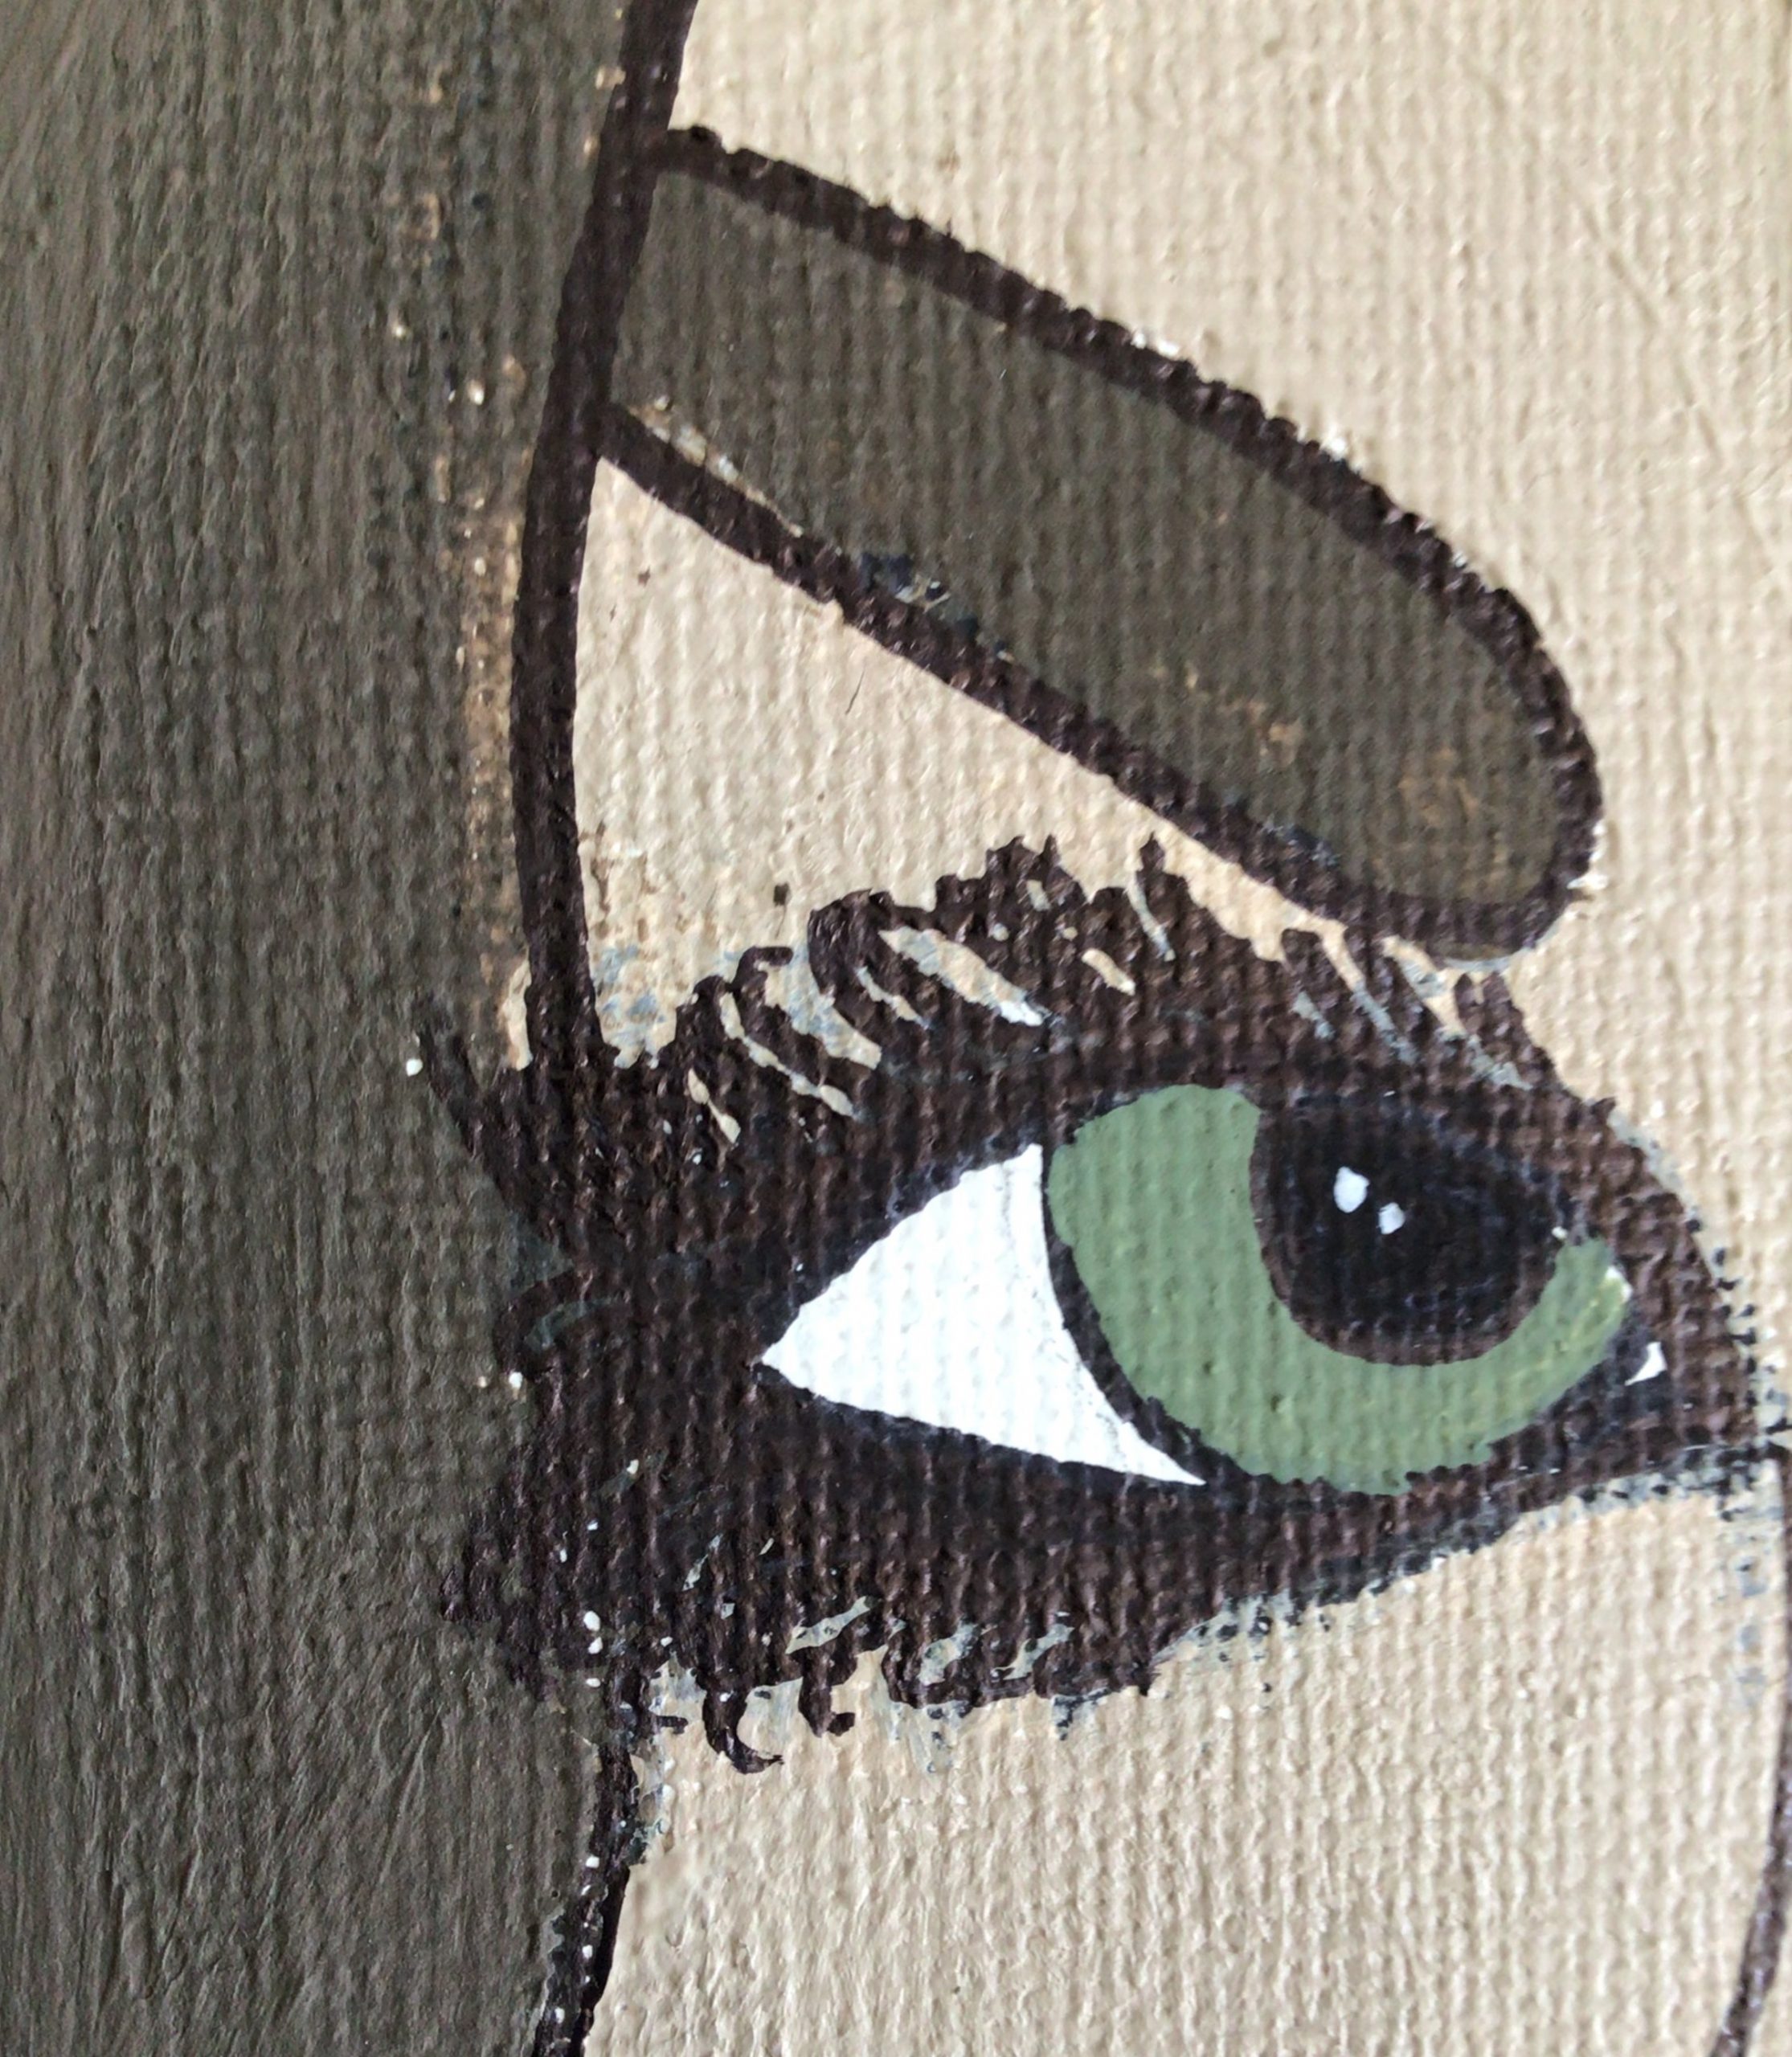
Now that I’m close to being done, I used my Gelly Roll 08 white pen to add in specks of white to the eyes. As she is looking behind her, these specks of white are important to the painting.
Step 6
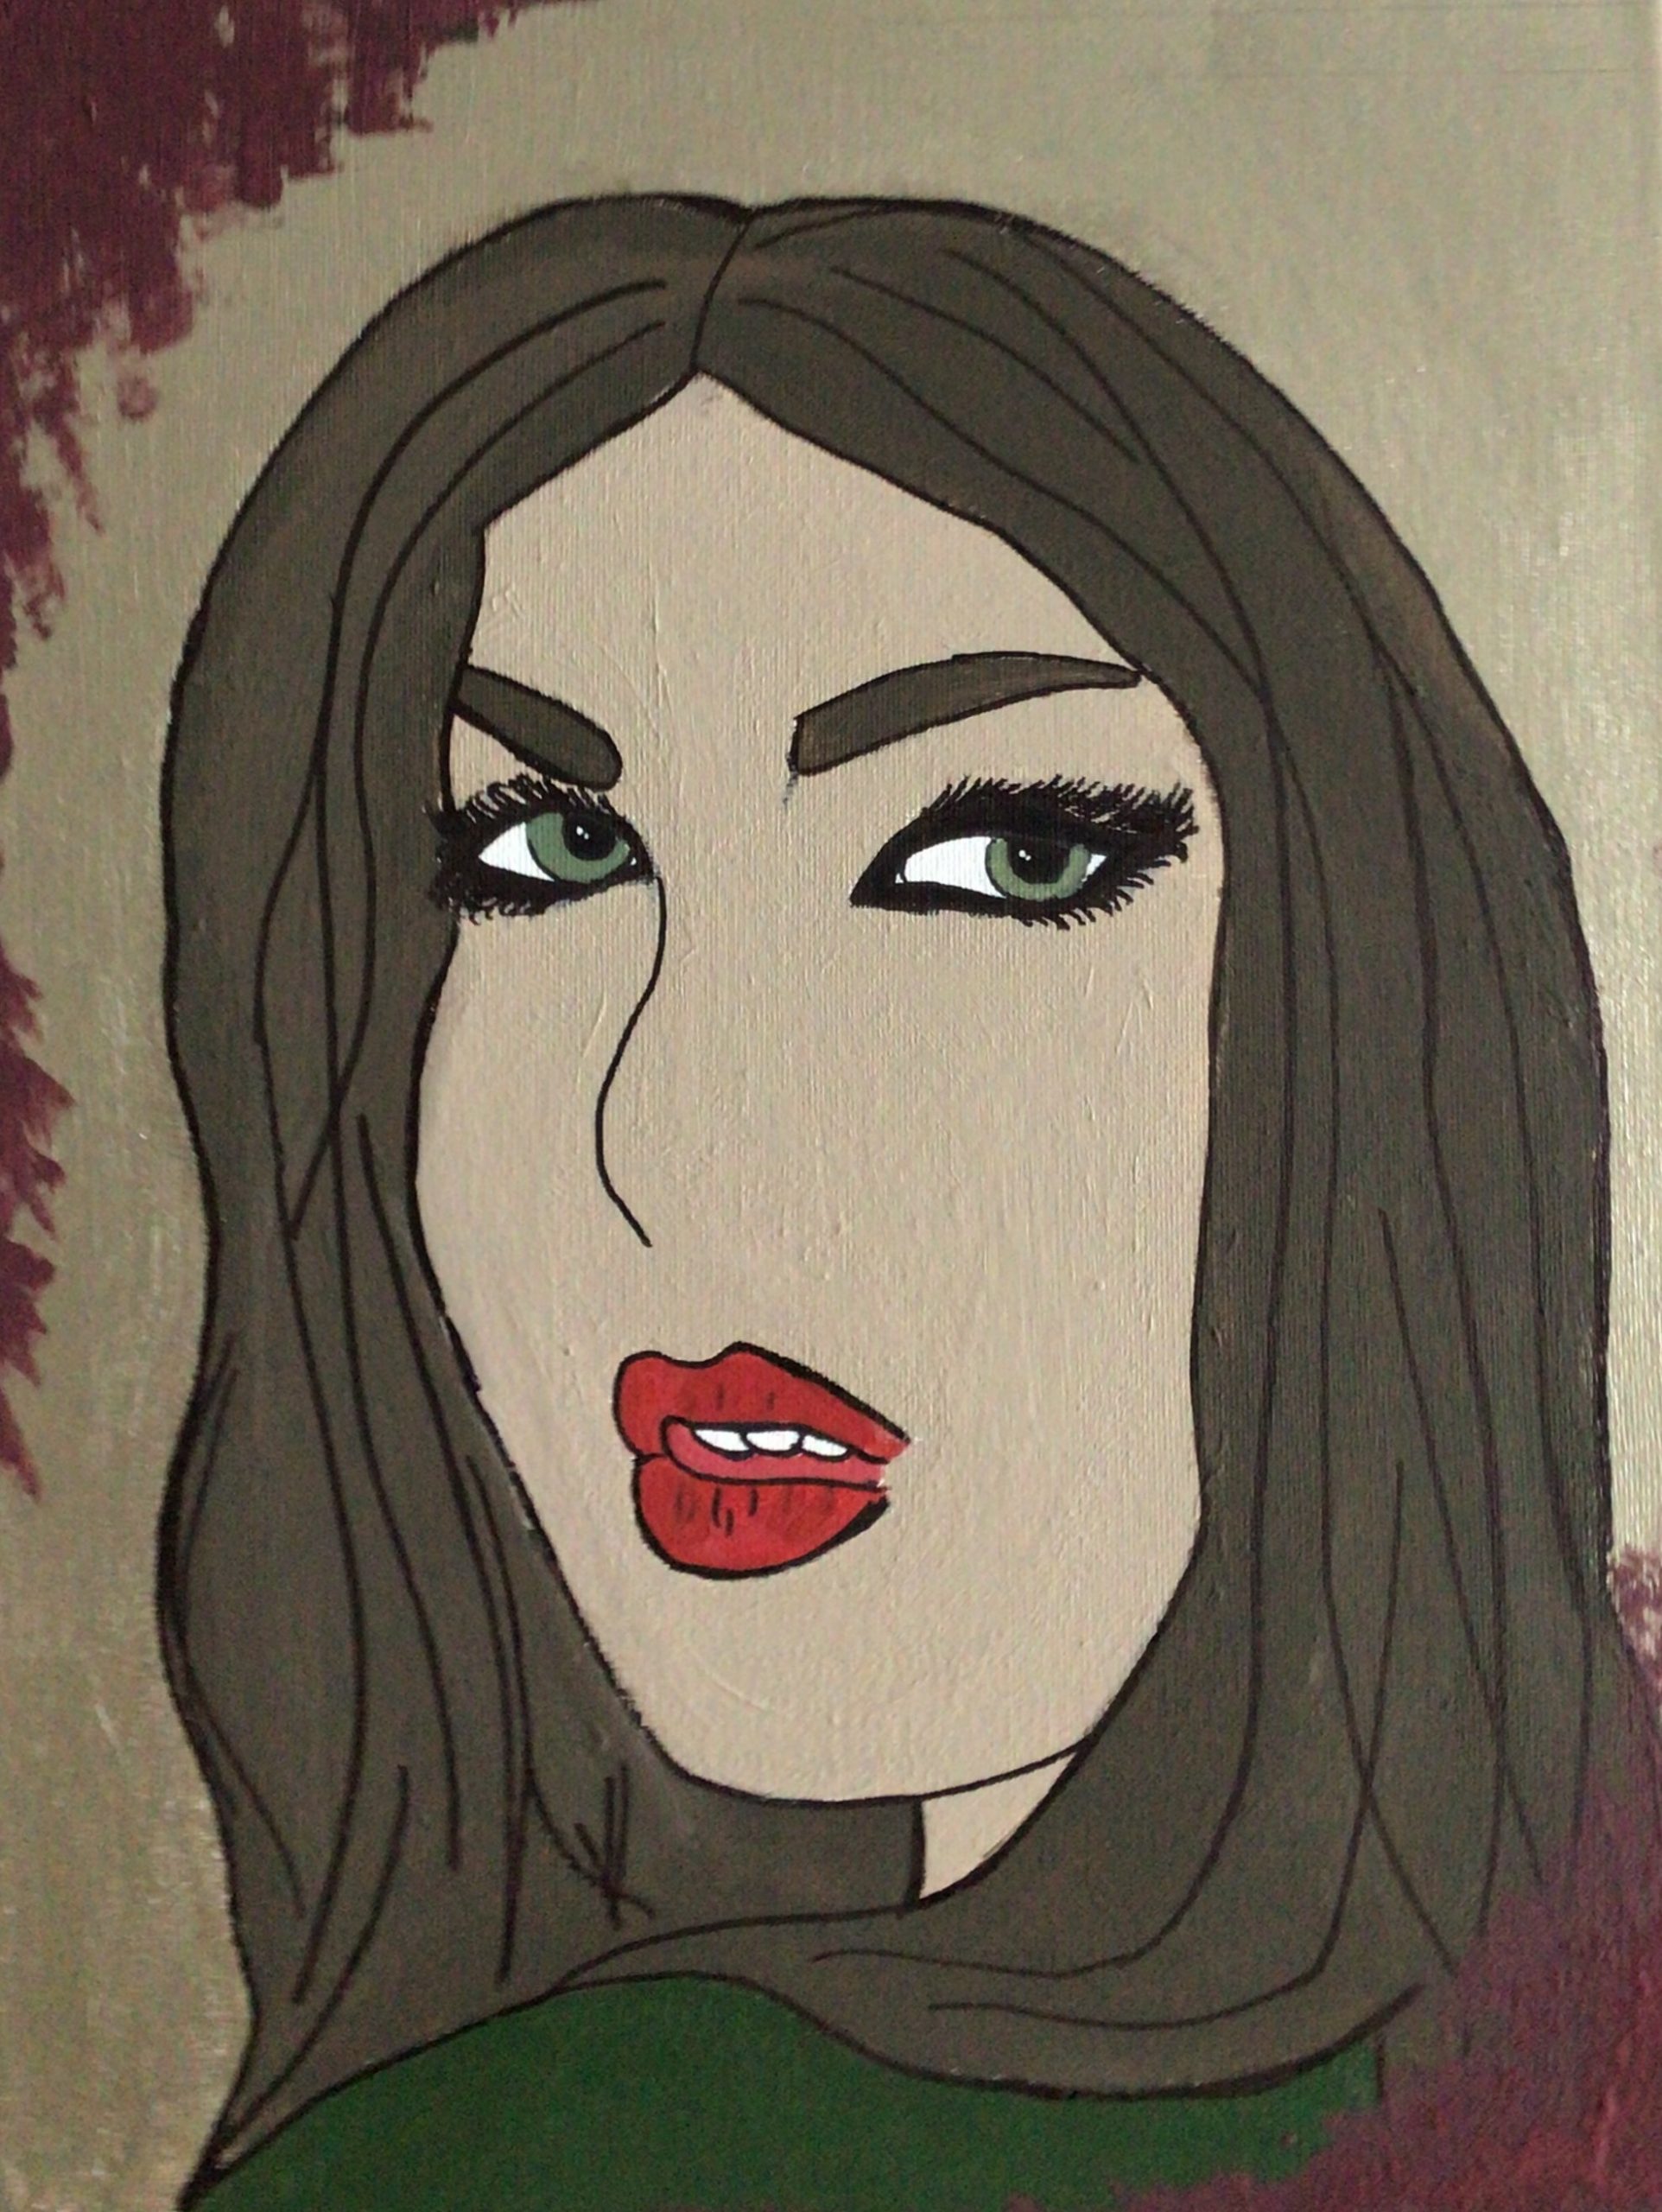
To "frame" the picture, I created a dark purple paint by mixing in red, neon blue, yellow and black. I am really pleased with how the colour turned out. I used a sponge brush to create a broken, fade-towards-the-outside, texture that I was going for.
While waiting for it to dry, I found old pieces of paper that I thought would look great layered on top of the purple paint to "frame" the portrait. So, I ripped up some pieces of paper and hot glued them to the corners of the canvas once the purple paint had dried.
Step 7
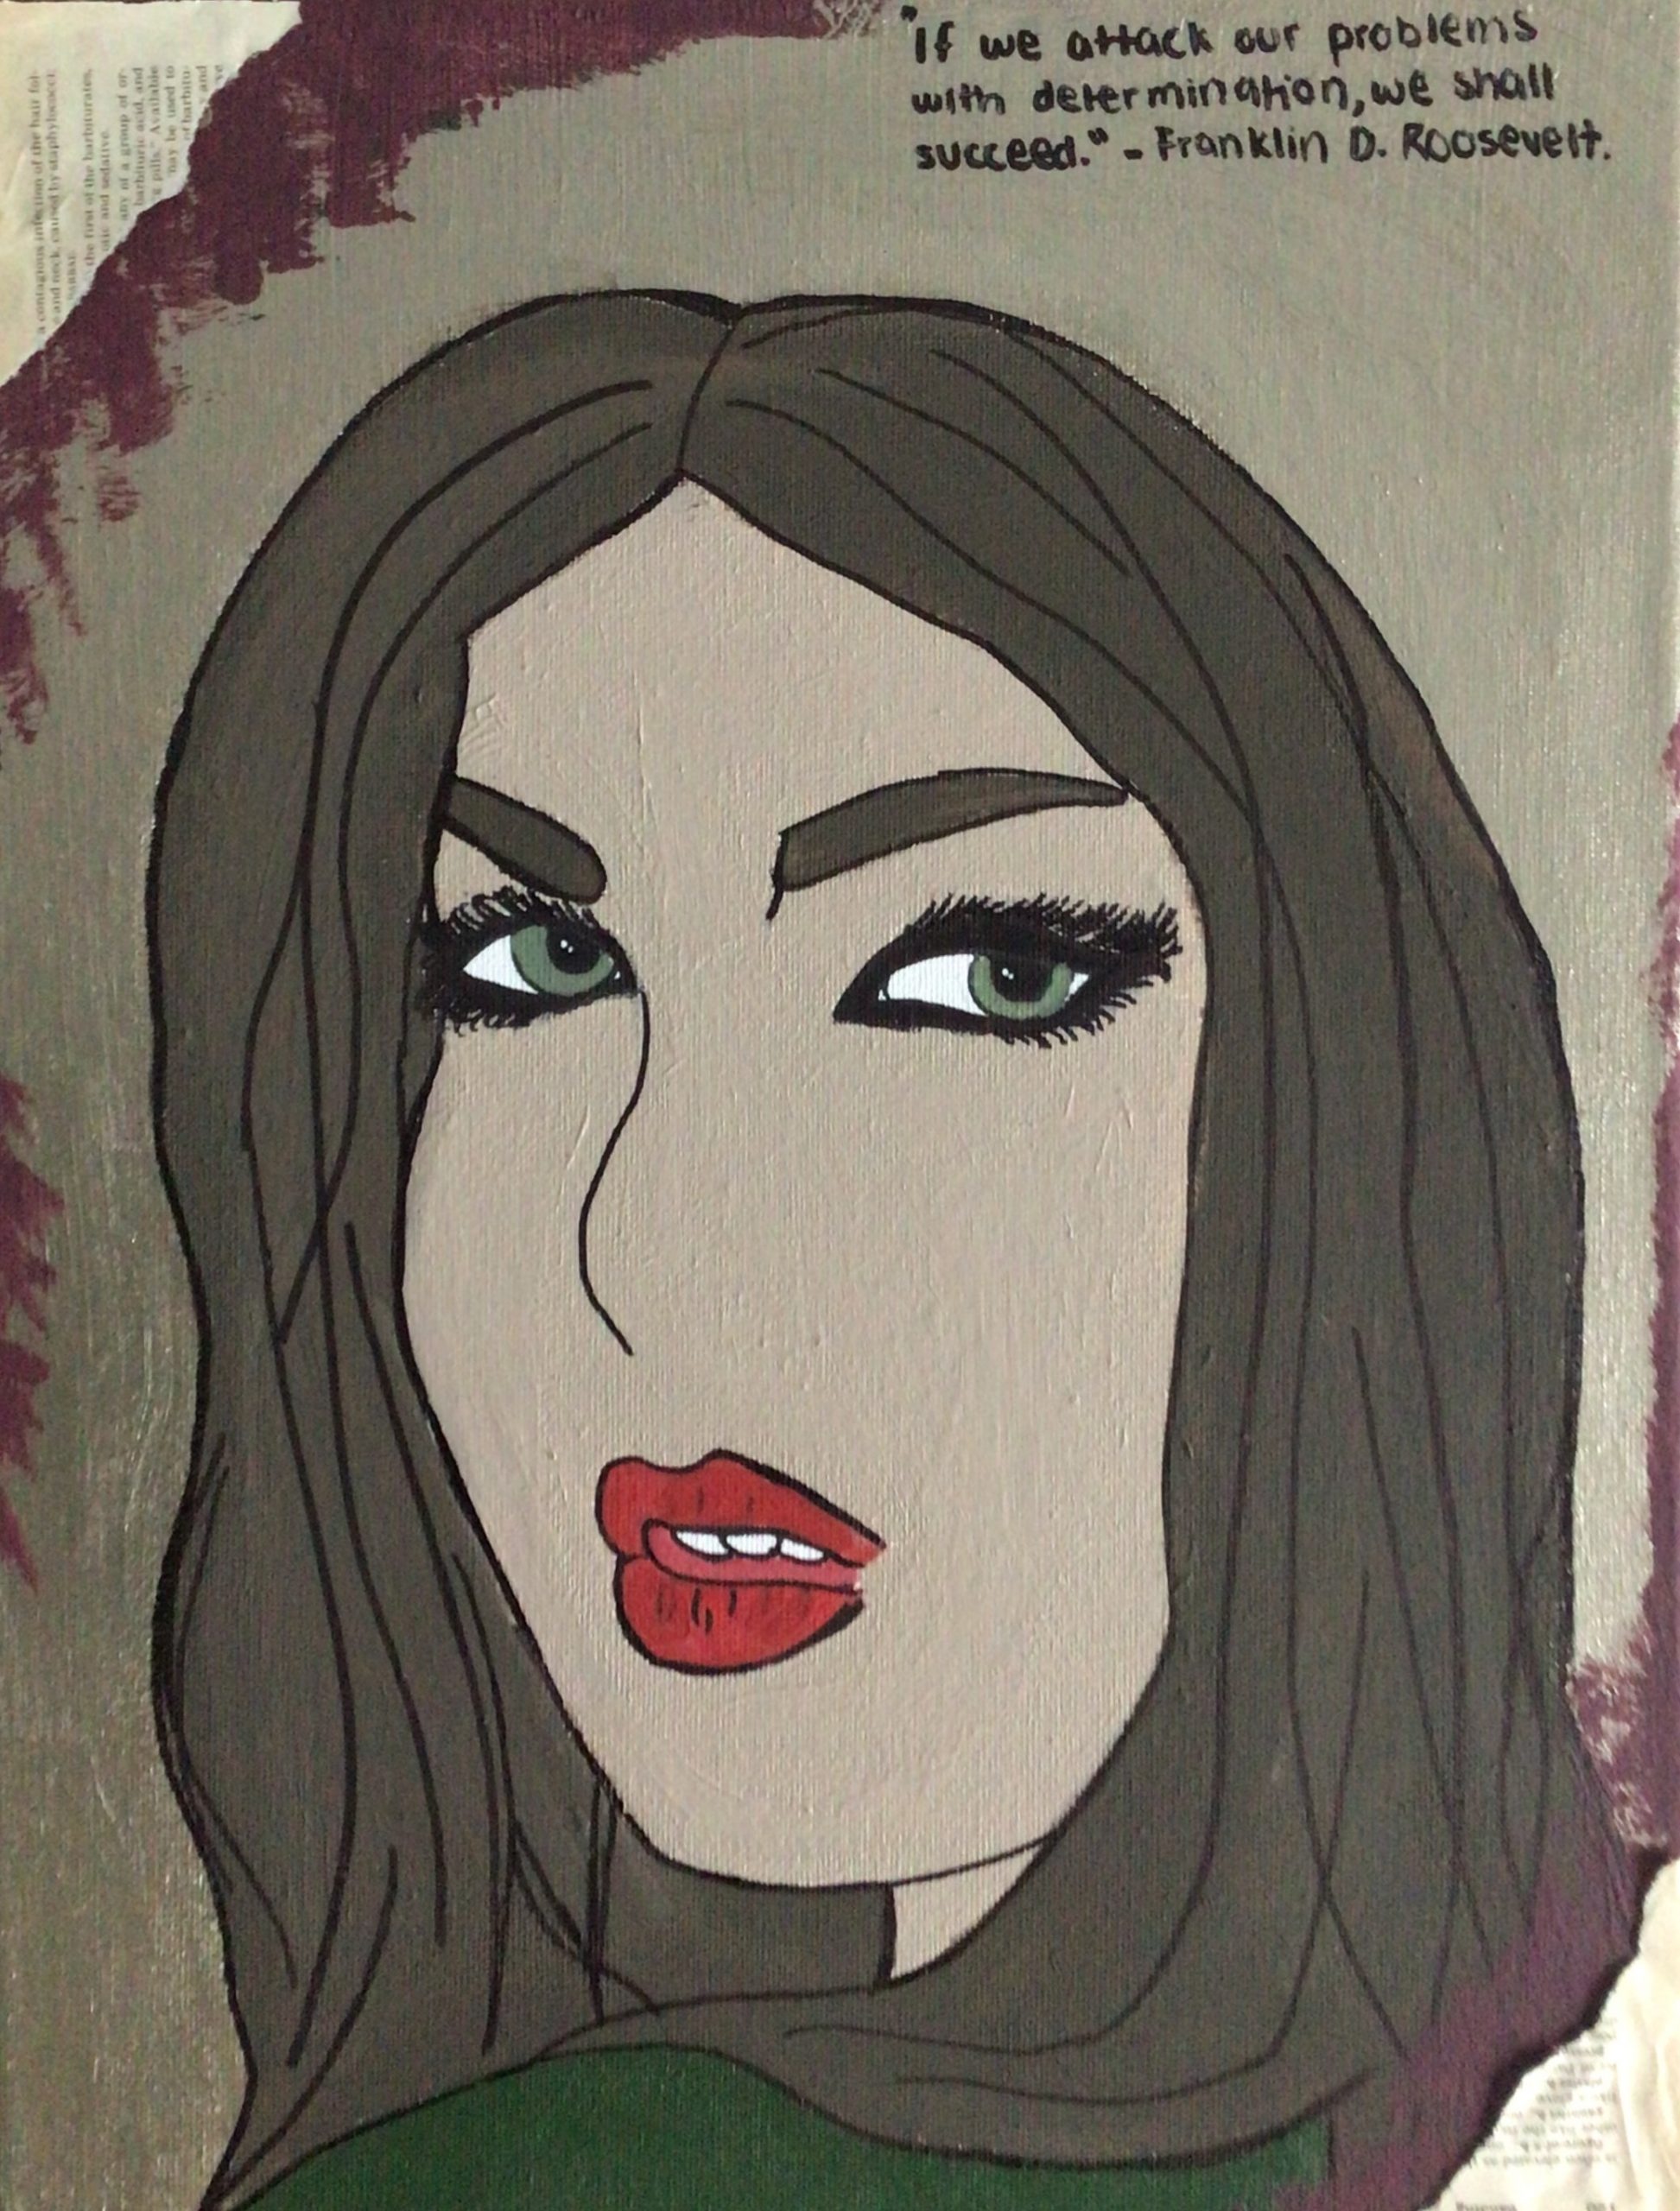
I touched up some areas and added a quote that went hand in hand with the art piece. Overall, I think it turned out really well!
Finished artwork
About the writer
Theertha Madhi is a high school student with future goals of becoming a paediatrician. She enjoys spending her time with family and friends and has been playing piano for more than 8 years.


Add a comment to: Teen Volunteer Art Feature: Theertha’s “Clarity”